


What makes oatmeal bread so compelling? Maybe it’s the slightly sweet, mildly nutty flavor of the oats. Or maybe it's the nubbly texture oats add to your otherwise blandly smooth loaf.
Or perhaps it's simply that oats take us back to the warm bowl of oatmeal Mom would set before us on the breakfast table, drizzled with milk or cream and topped with a sprinkle of brown sugar and a pat of melting butter. Talk about comfort food: a simple bowl of oatmeal can be just as satisfying as the far showier eggs Benedict or stuffed French toast.
Just like oatmeal itself, good oatmeal bread is right up there on the happiness scale with buttery French brioche or a crusty baguette. Note the caveat: “good oatmeal bread.” There are plenty of supermarket oatmeal breads out there with tongue-tying additives like monoglyceride, calcium propionate, and sodium stearoyl lactylate.
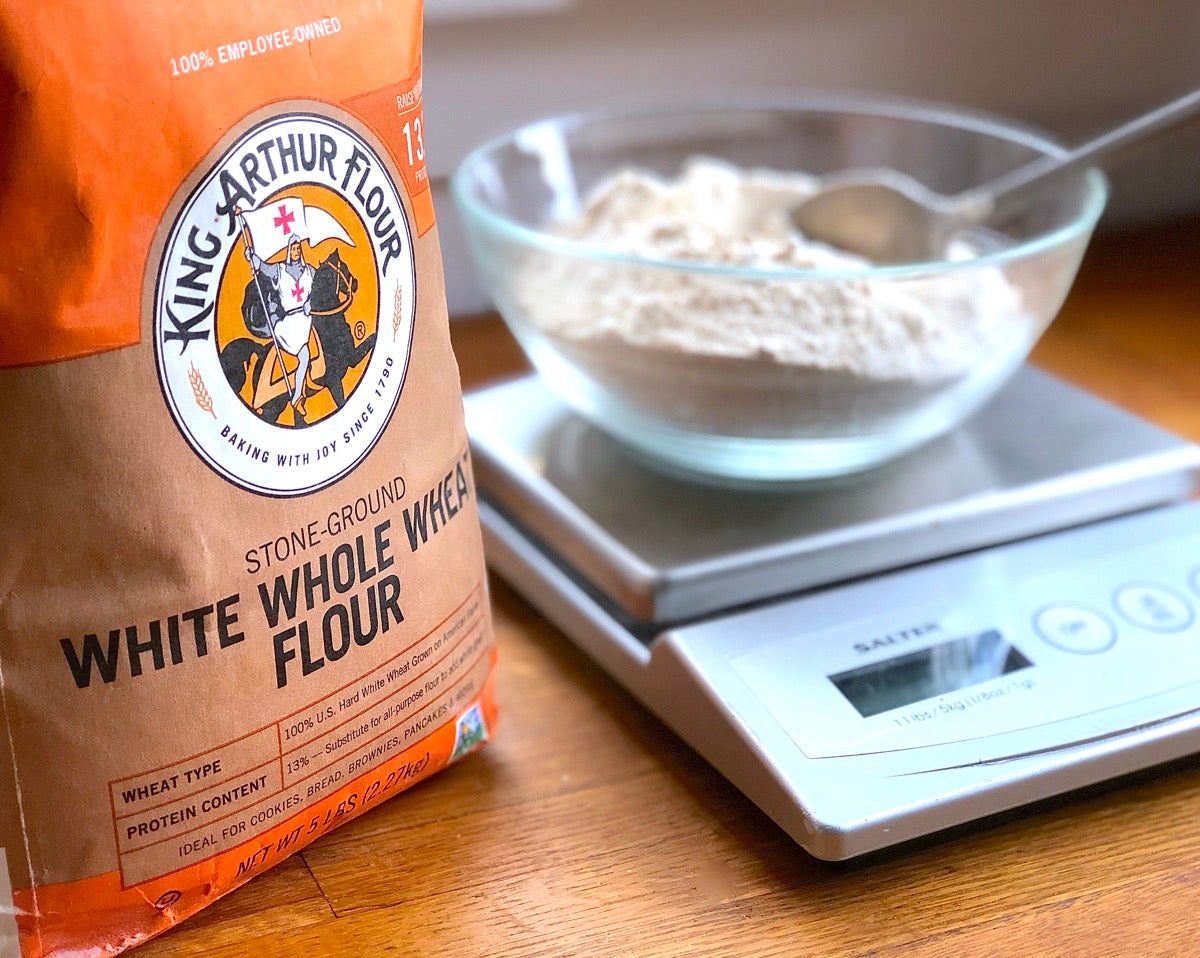
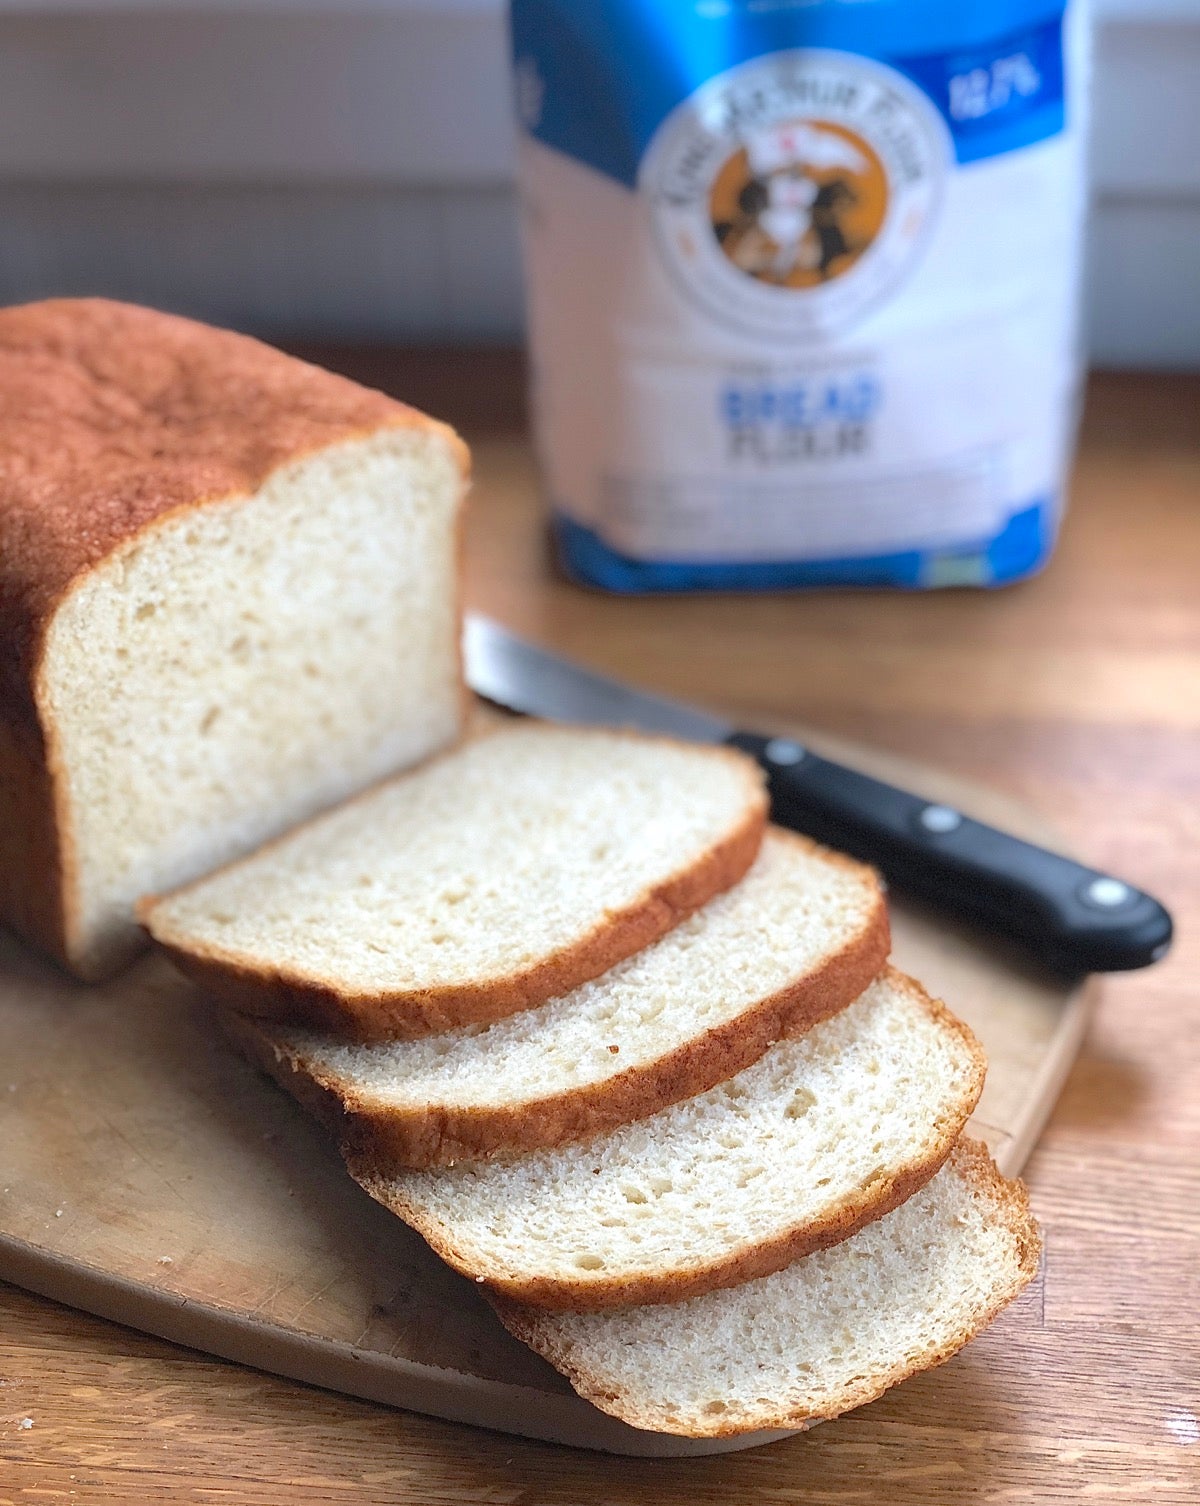
But why use freshness- and volume-enhancing chemicals in your oatmeal loaf when you can make a high-rising, tender loaf of oatmeal bread using just seven simple ingredients? Our Back-of-the-Bag Oatmeal Bread includes flour, oats, salt, yeast, brown sugar (or honey), butter, and milk — period.
Sliced for sandwiches, this oatmeal bread is soft and tender. Toasted at breakfast, it’s the ideal vehicle for peanut butter and jam, or alongside scrambled eggs.
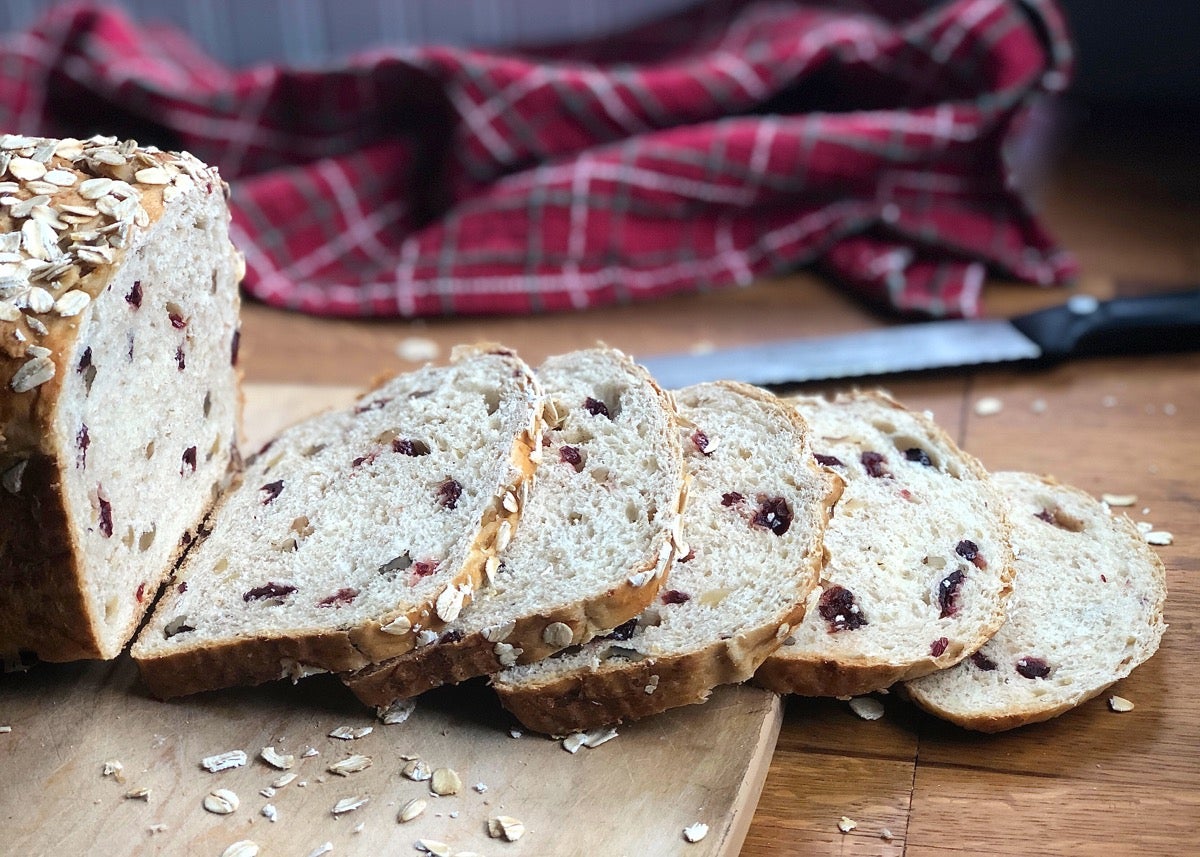
The bread is simplicity itself: both its ingredients, and how it's put together and baked. Which is not to say it’s boring. Back-of-the-Bag Oatmeal Bread is a blank canvas awaiting your personal touches. Stir in dried fruit or nuts; sweeten with maple syrup; top with a layer of rolled oats, or sprinkle with cinnamon sugar.
Make the bread vegan/dairy-free simply by substituting plant-based products for the milk and butter. Or increase fiber by using 100% whole wheat flour in place of the bread flour. However you slice it, this loaf is bound to become a favorite.
And this is actually how this bread, formerly called Oatmeal Toasting and Sandwich Bread, earned its present name. The original recipe appeared on the back of our bread flour bag for years. When it eventually gave way to a new recipe, many anxious readers looked for their favorite loaf online by typing in “back of the bag oatmeal bread.” So we simply renamed it — problem solved!
First, let’s go through the basic process for making this bread. Then I’ll show you some delicious twists.
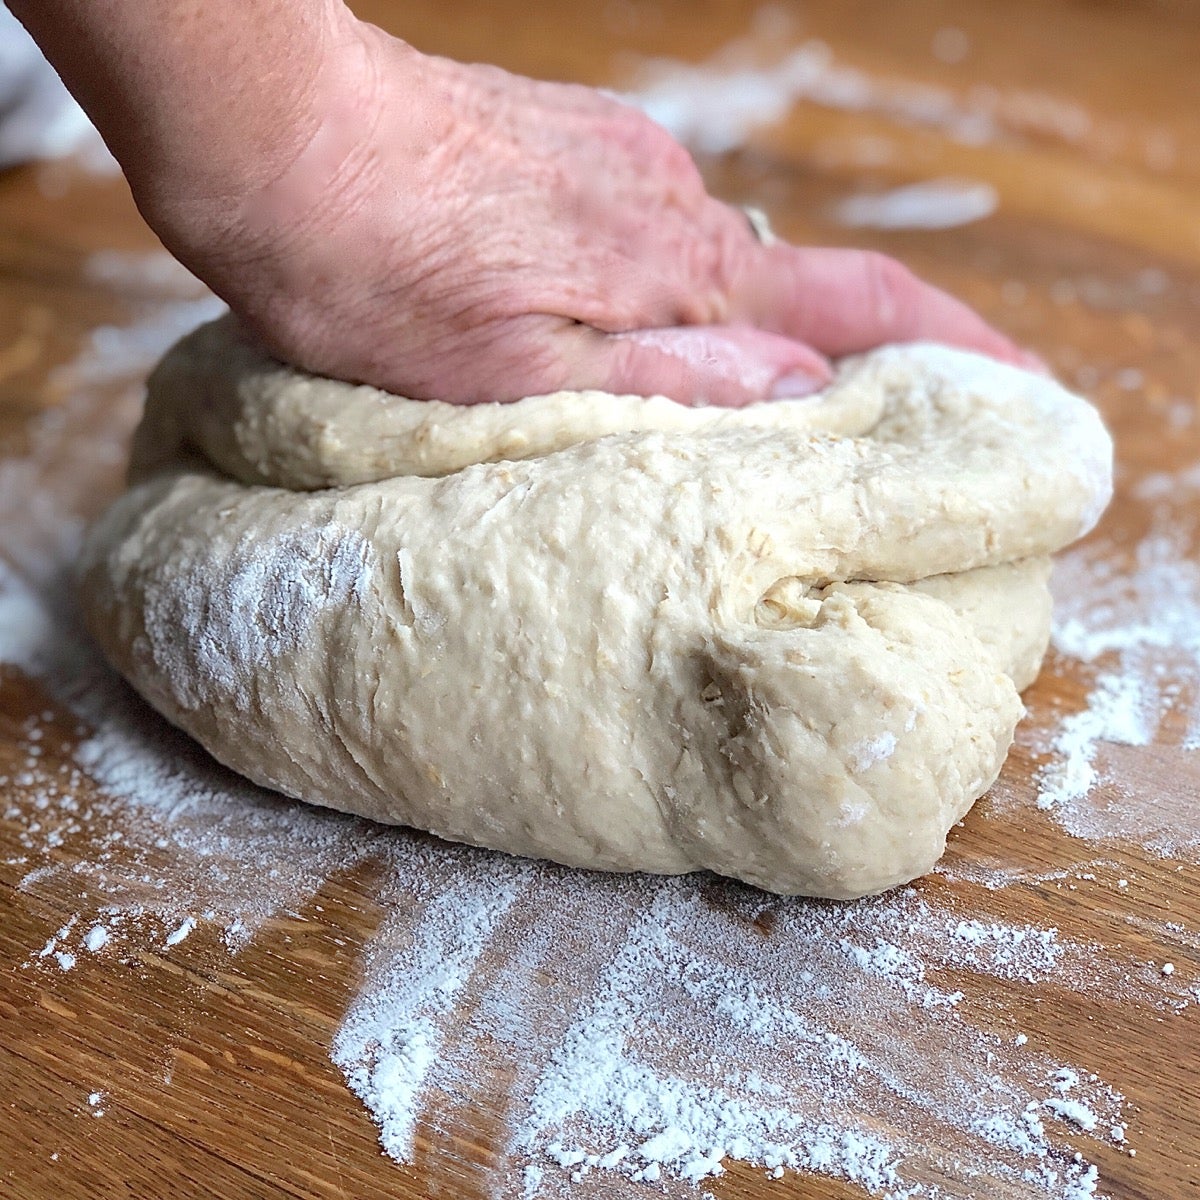
To make the dough: In a large mixing bowl, or in the bowl of a stand mixer, combine all of the ingredients, mixing to form a shaggy dough. Knead dough, by hand (10 minutes) or by machine (5 minutes) until it's smooth and springy. New to bread baking? Watch this: How to tell if bread dough is fully kneaded.
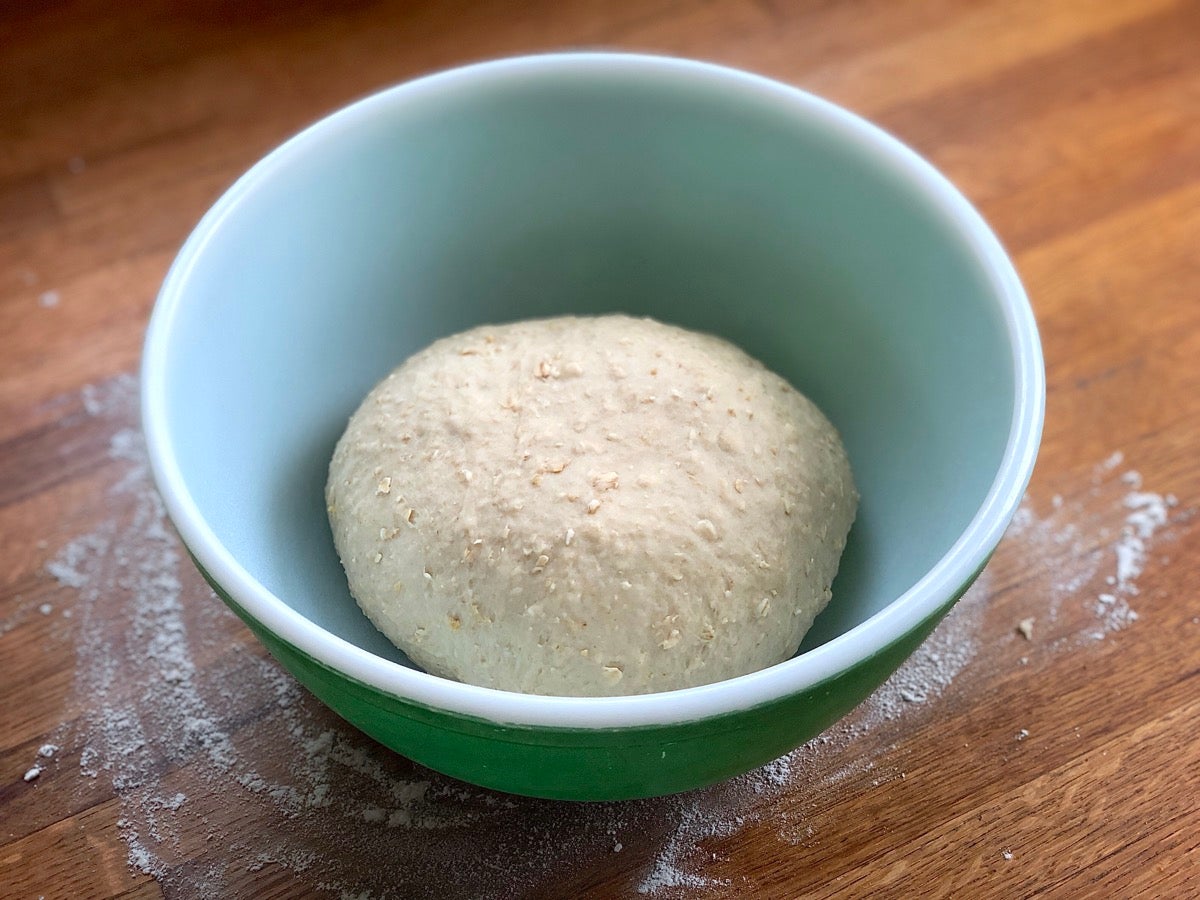
Place the dough in a lightly greased bowl, cover, and allow it to rise for 1 hour.
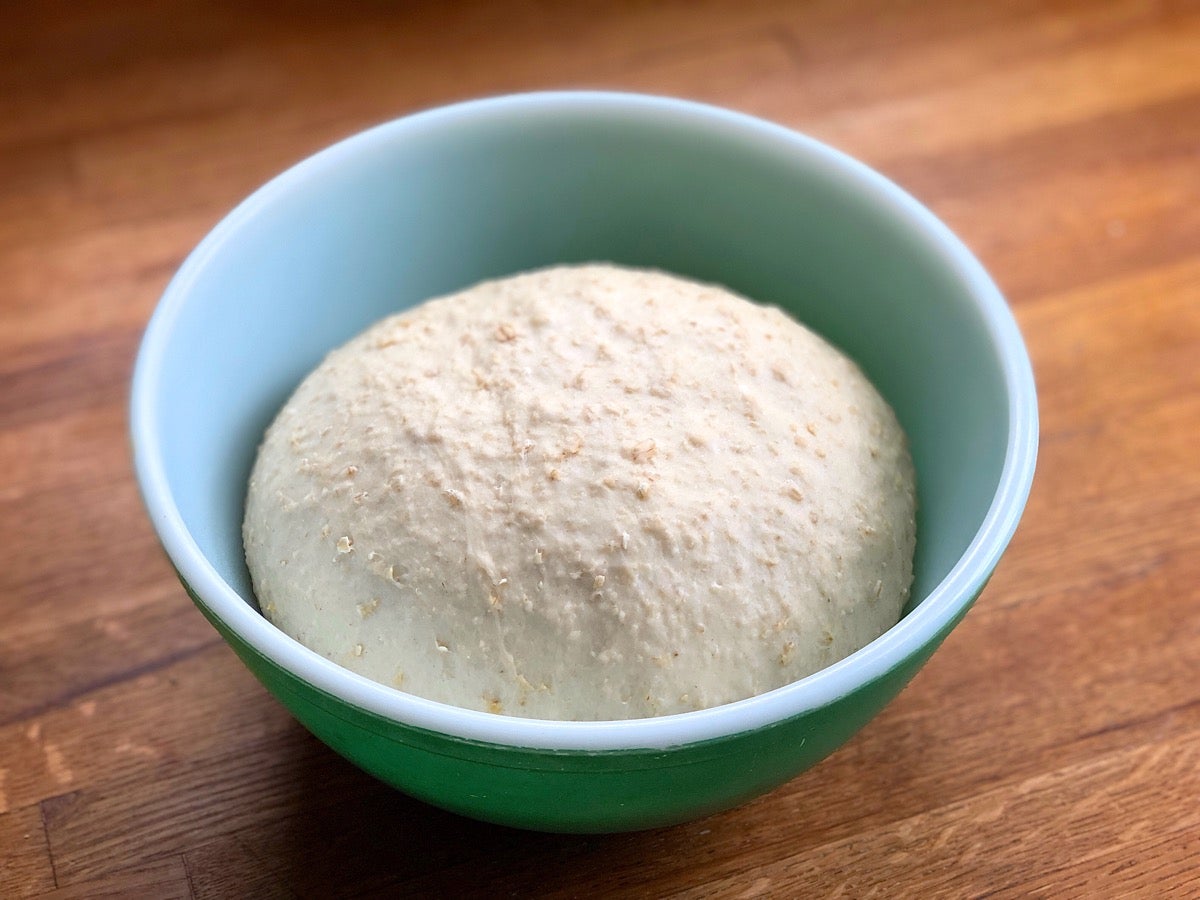
It'll become quite puffy, though it may not double in bulk.
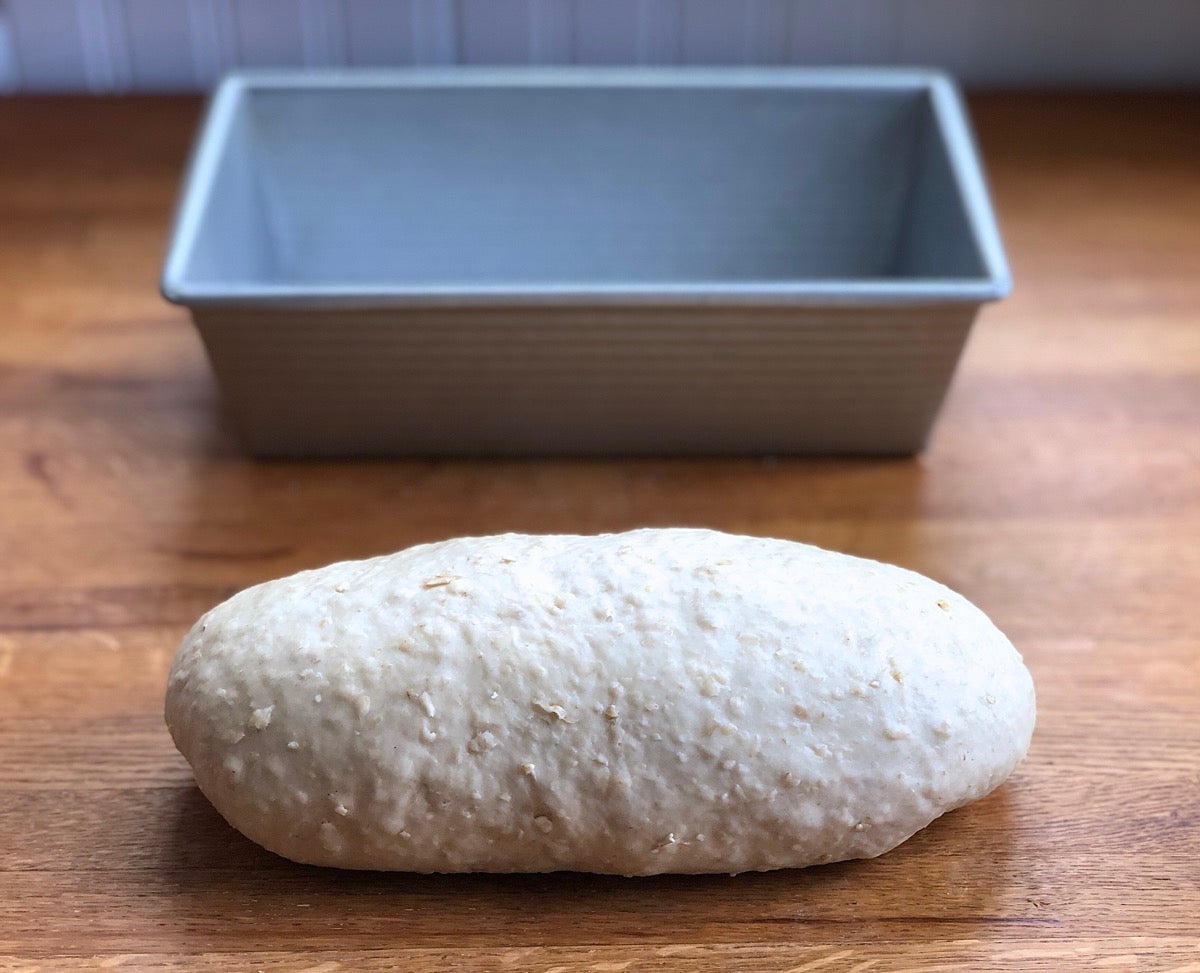
To shape the bread: Transfer the dough to a lightly oiled surface. Gently deflate it, and shape it into a log.
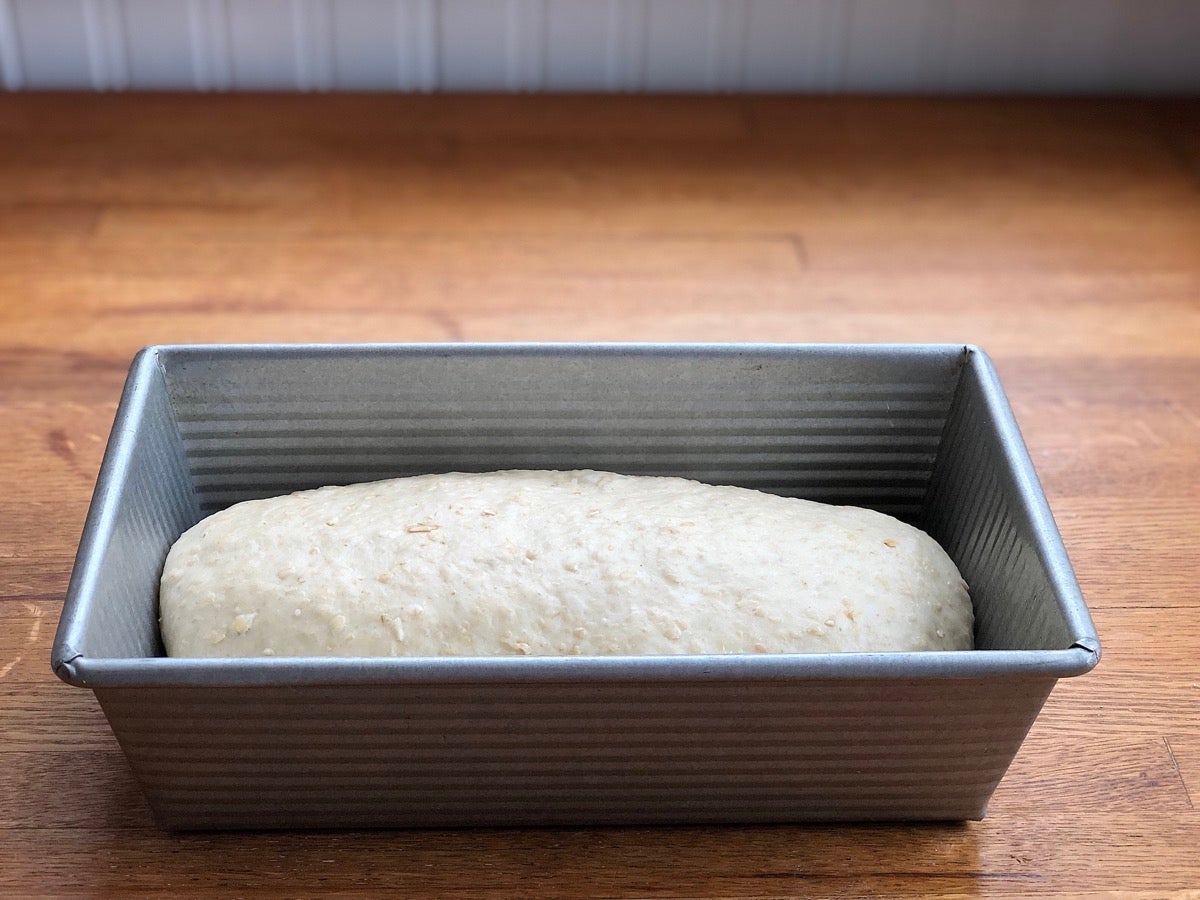
Place the log in a lightly greased 9" x 5" loaf pan, and tent the pan with lightly greased plastic wrap (or your favorite reusable wrap), a shower cap, or a bowl cover.
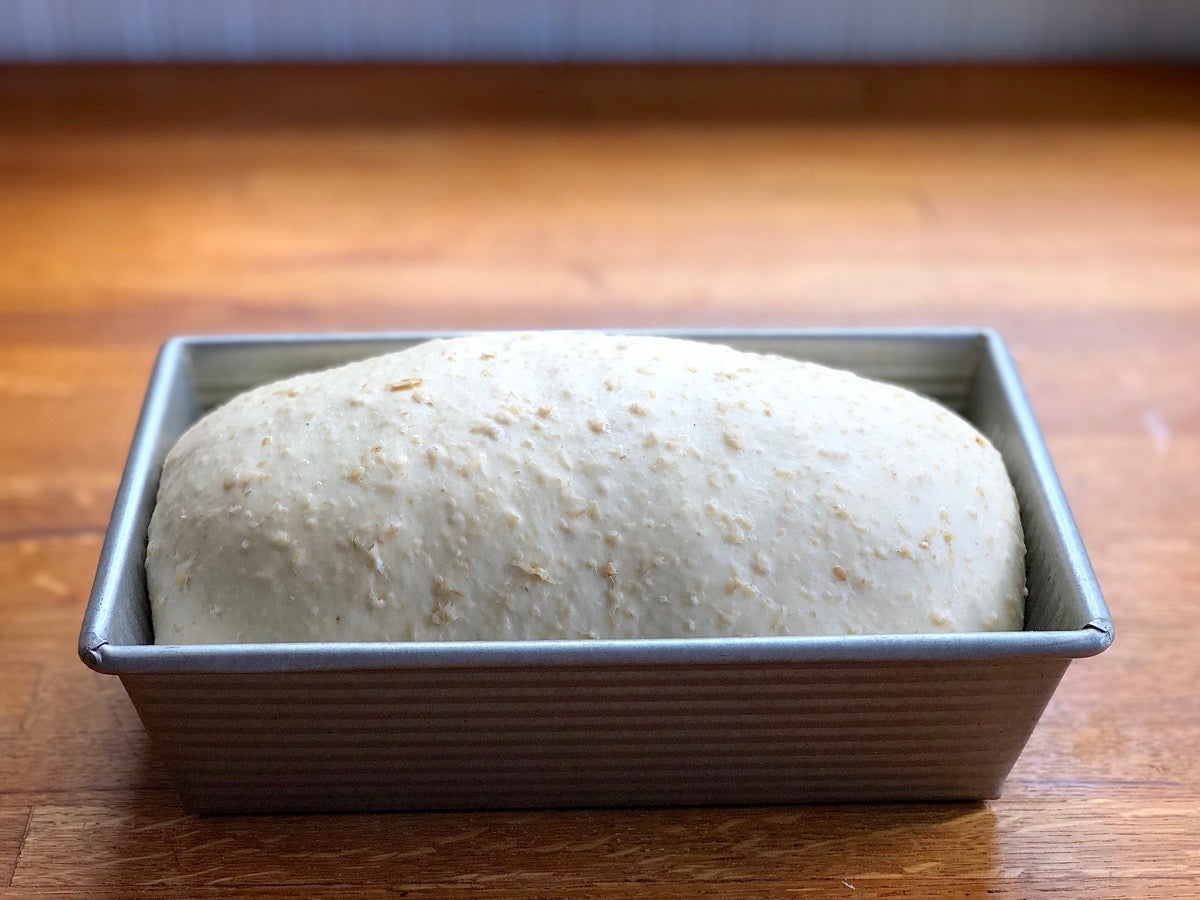
Allow the dough to rise for 1 to 1 1/2 hours, until it's crested 1" to 2" over the rim of the pan.
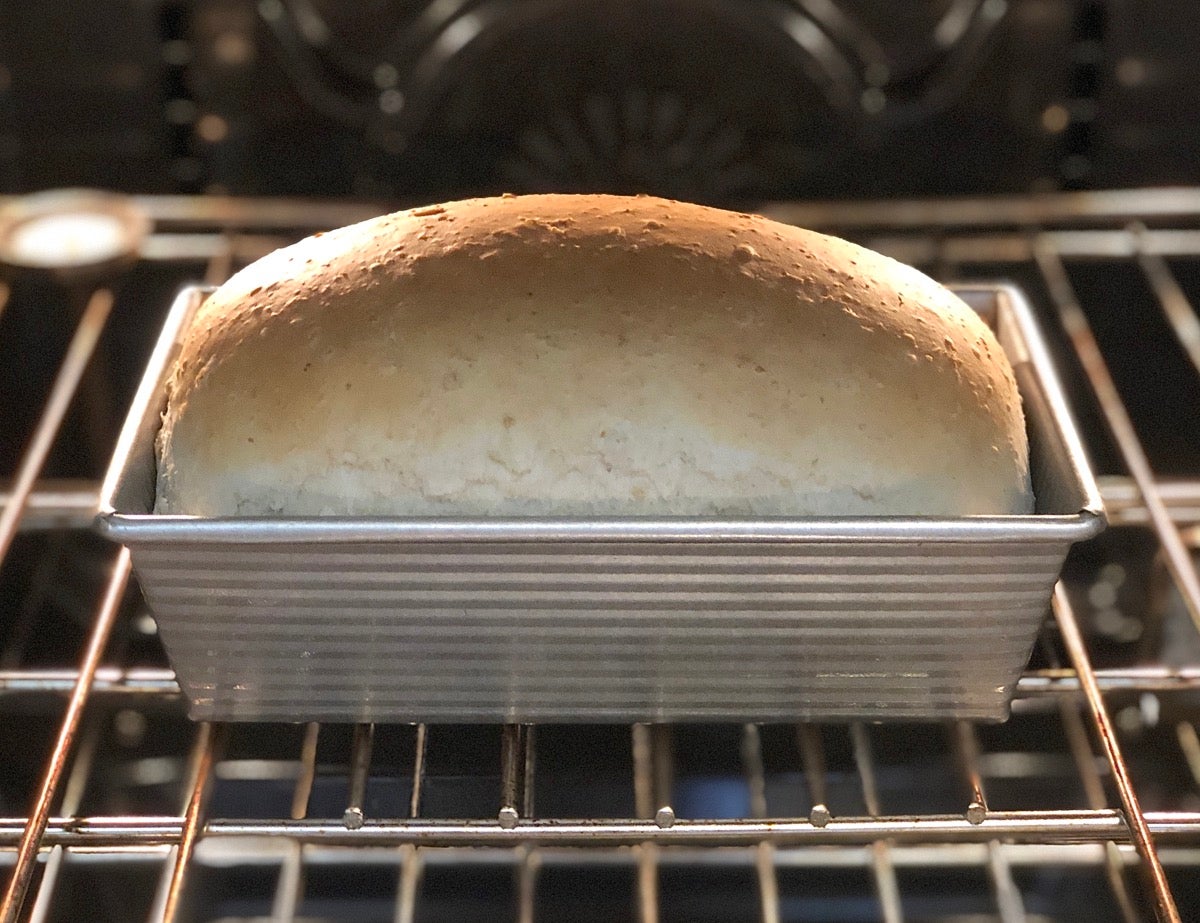
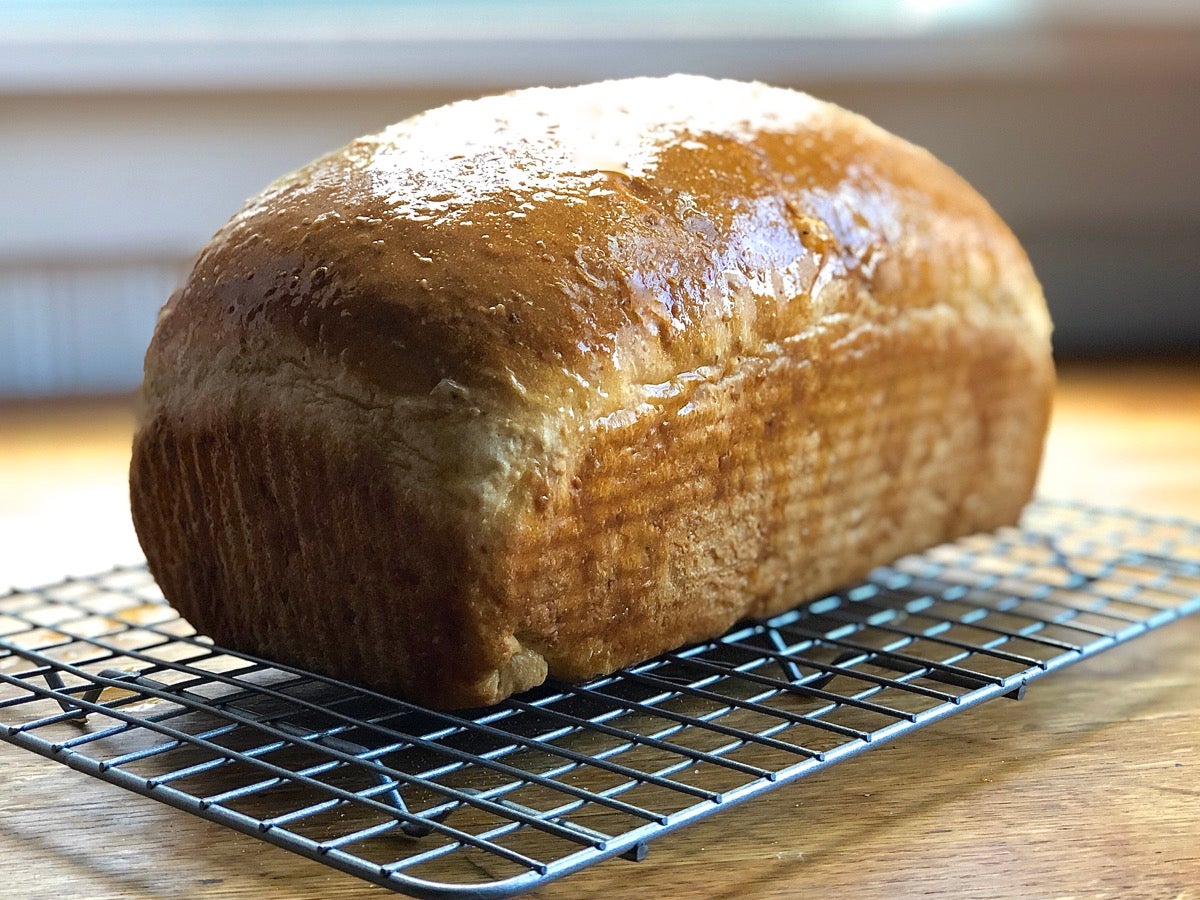
To bake the bread: Bake the bread in a preheated 350°F oven for 35 to 40 minutes, until it's golden brown. If the bread appears to be browning too quickly, tent it with aluminum foil for the final 10 minutes of baking. When done, a digital thermometer inserted into the center of the loaf will register 190°F. If you don't have a thermometer, slide the bread out of its pan and tap its bottom with your fingers: you should hear a hollow thump.
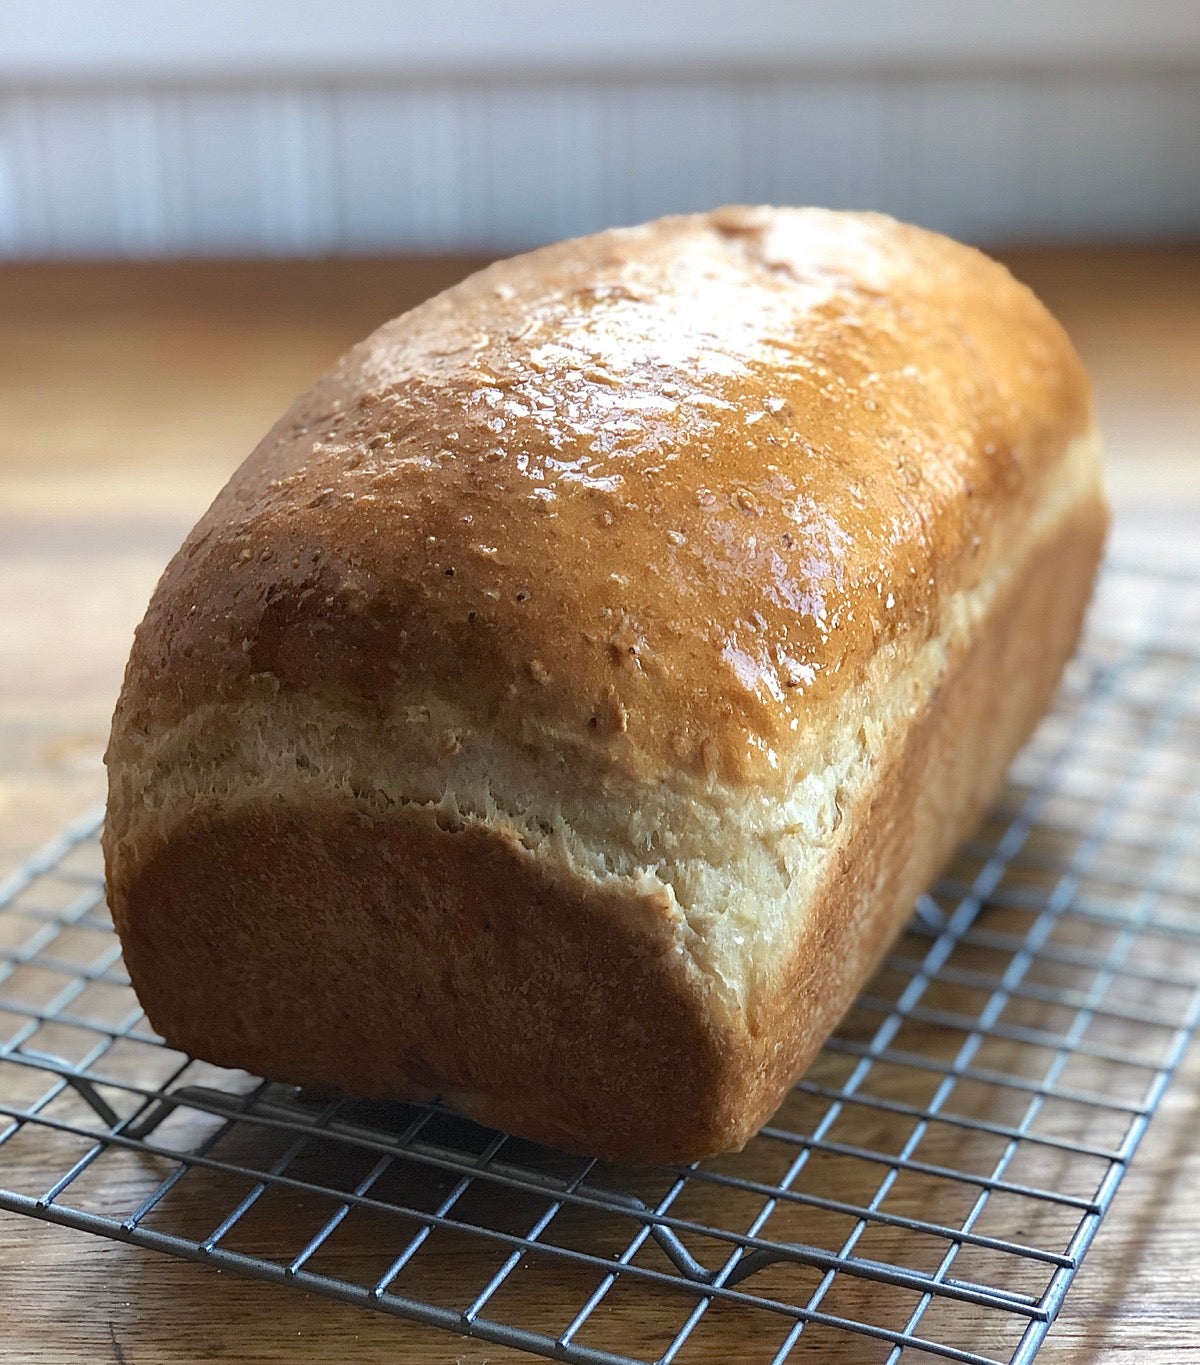
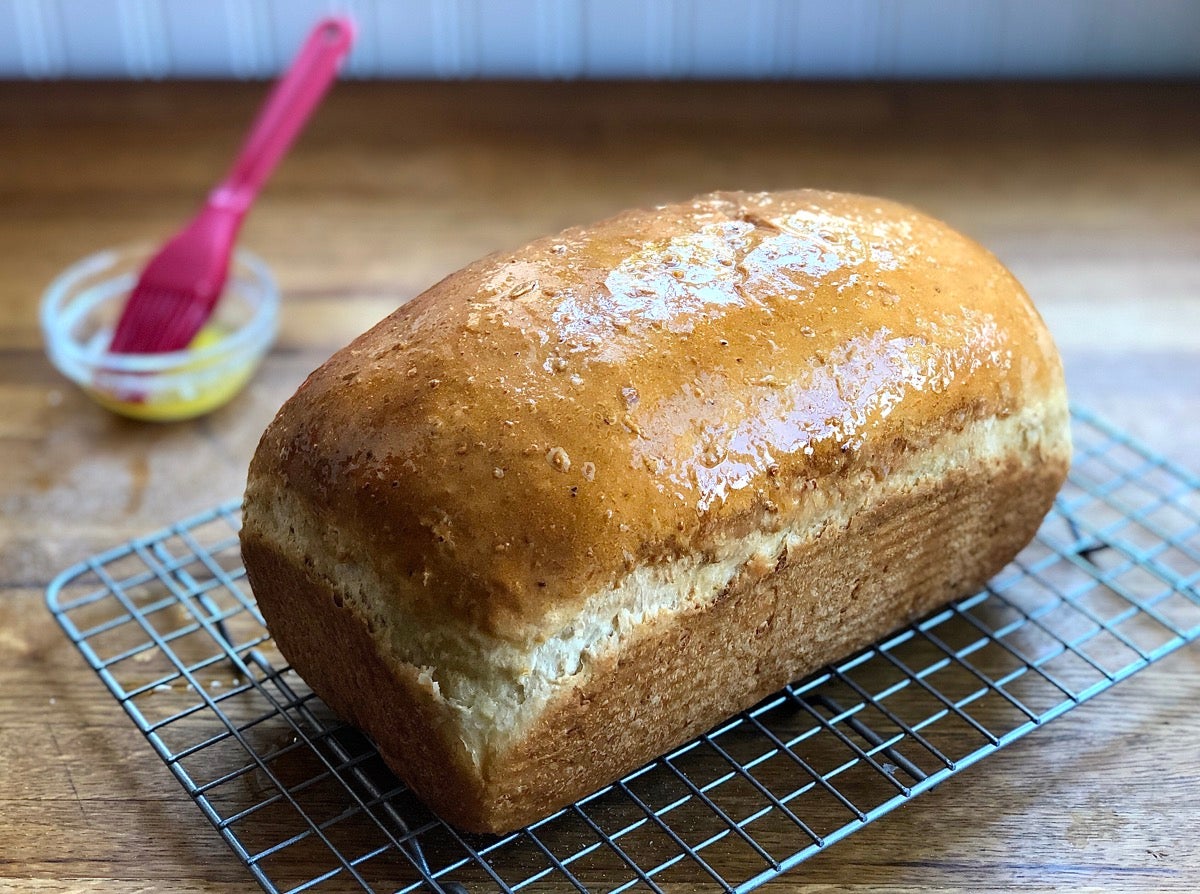
Remove the bread from the oven and turn it out of the pan onto a rack to cool. Cool completely before slicing.
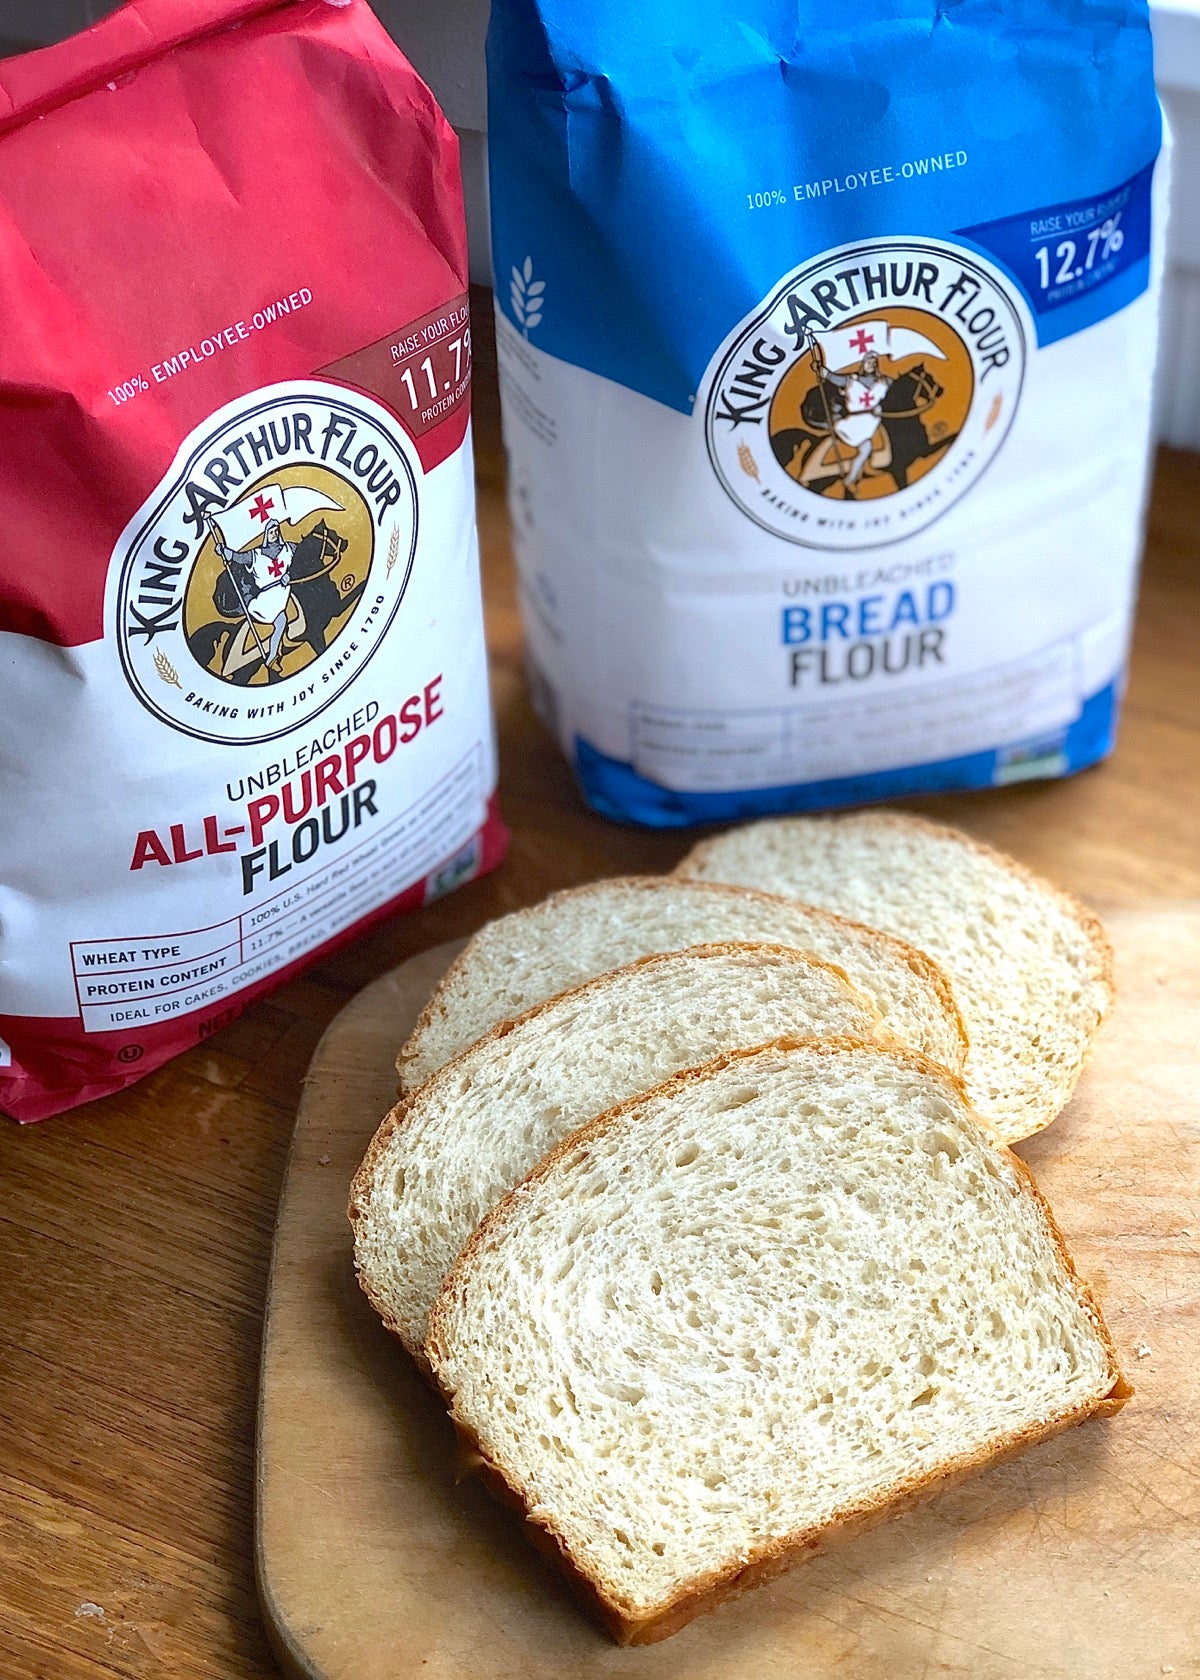
Let's say you want to make this recipe right away — but alas, you don’t have any bread flour on hand. No problem: simply substitute the same weight (or volume) of unbleached all-purpose flour, decreasing the amount of milk by 2 tablespoons to account for AP flour’s lower protein level.
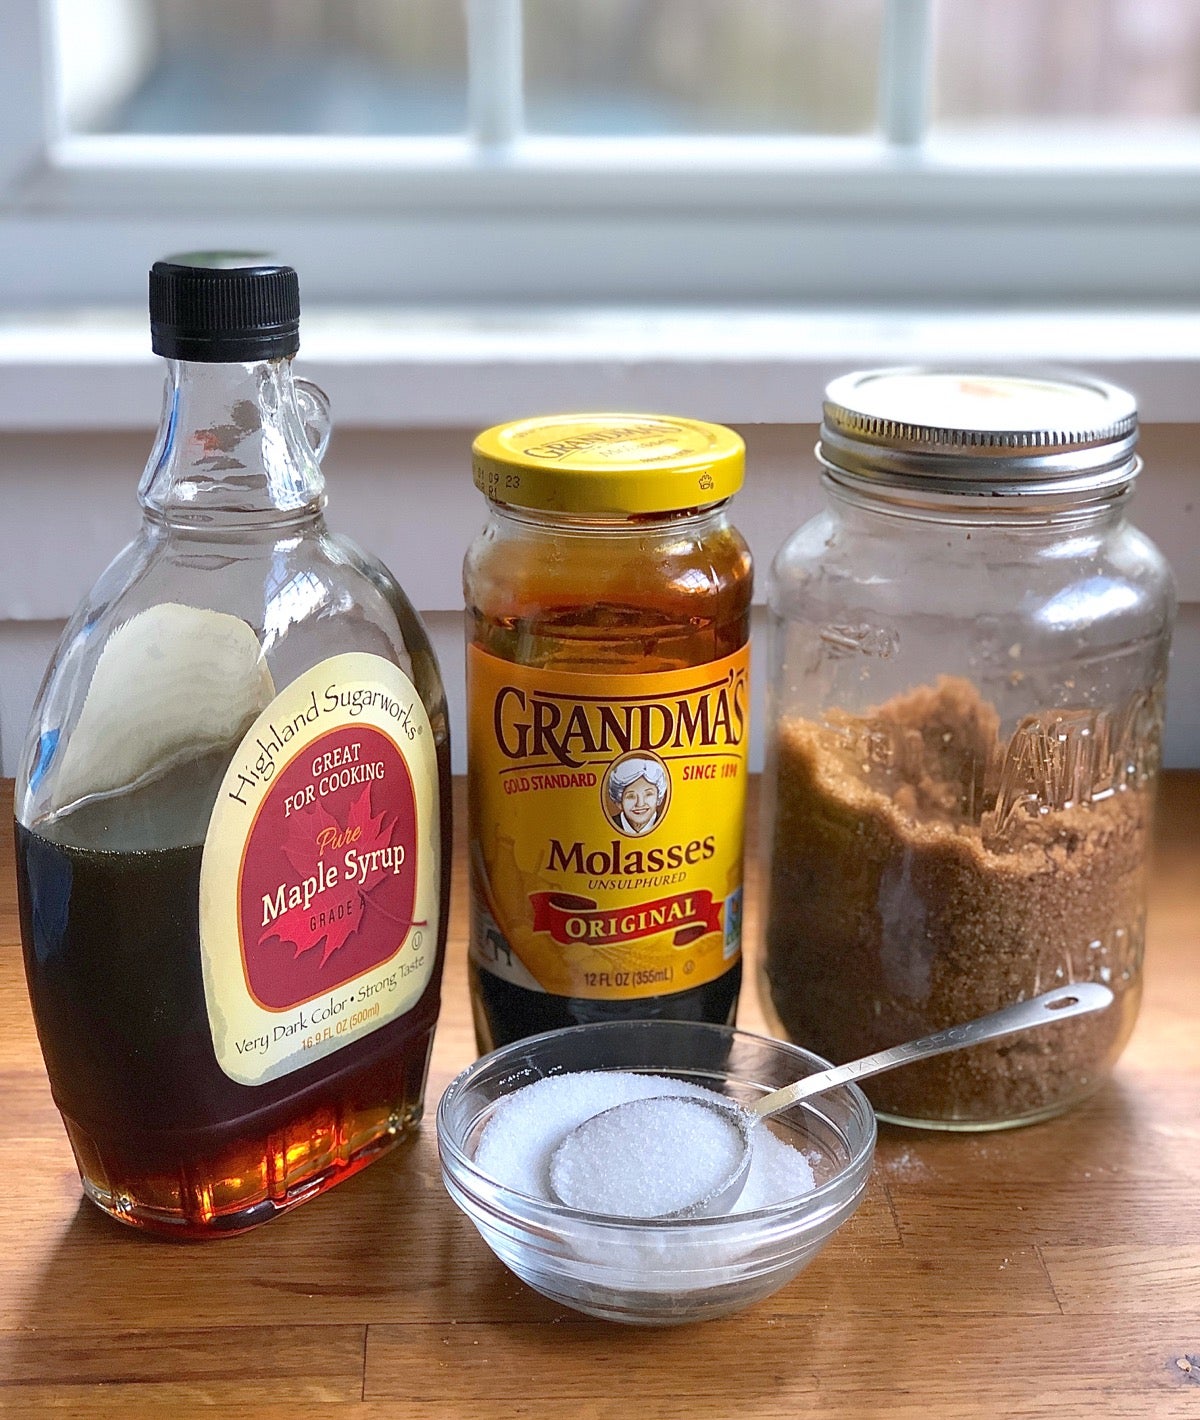
The recipe calls for brown sugar or honey, but an equal amount (by volume) of any sweetener will do. Granulated sugar adds simple sweetness, while maple syrup or molasses can add a faint touch of their own distinctive flavor. Prefer agave syrup, date sugar, or barley malt syrup? Go for it.
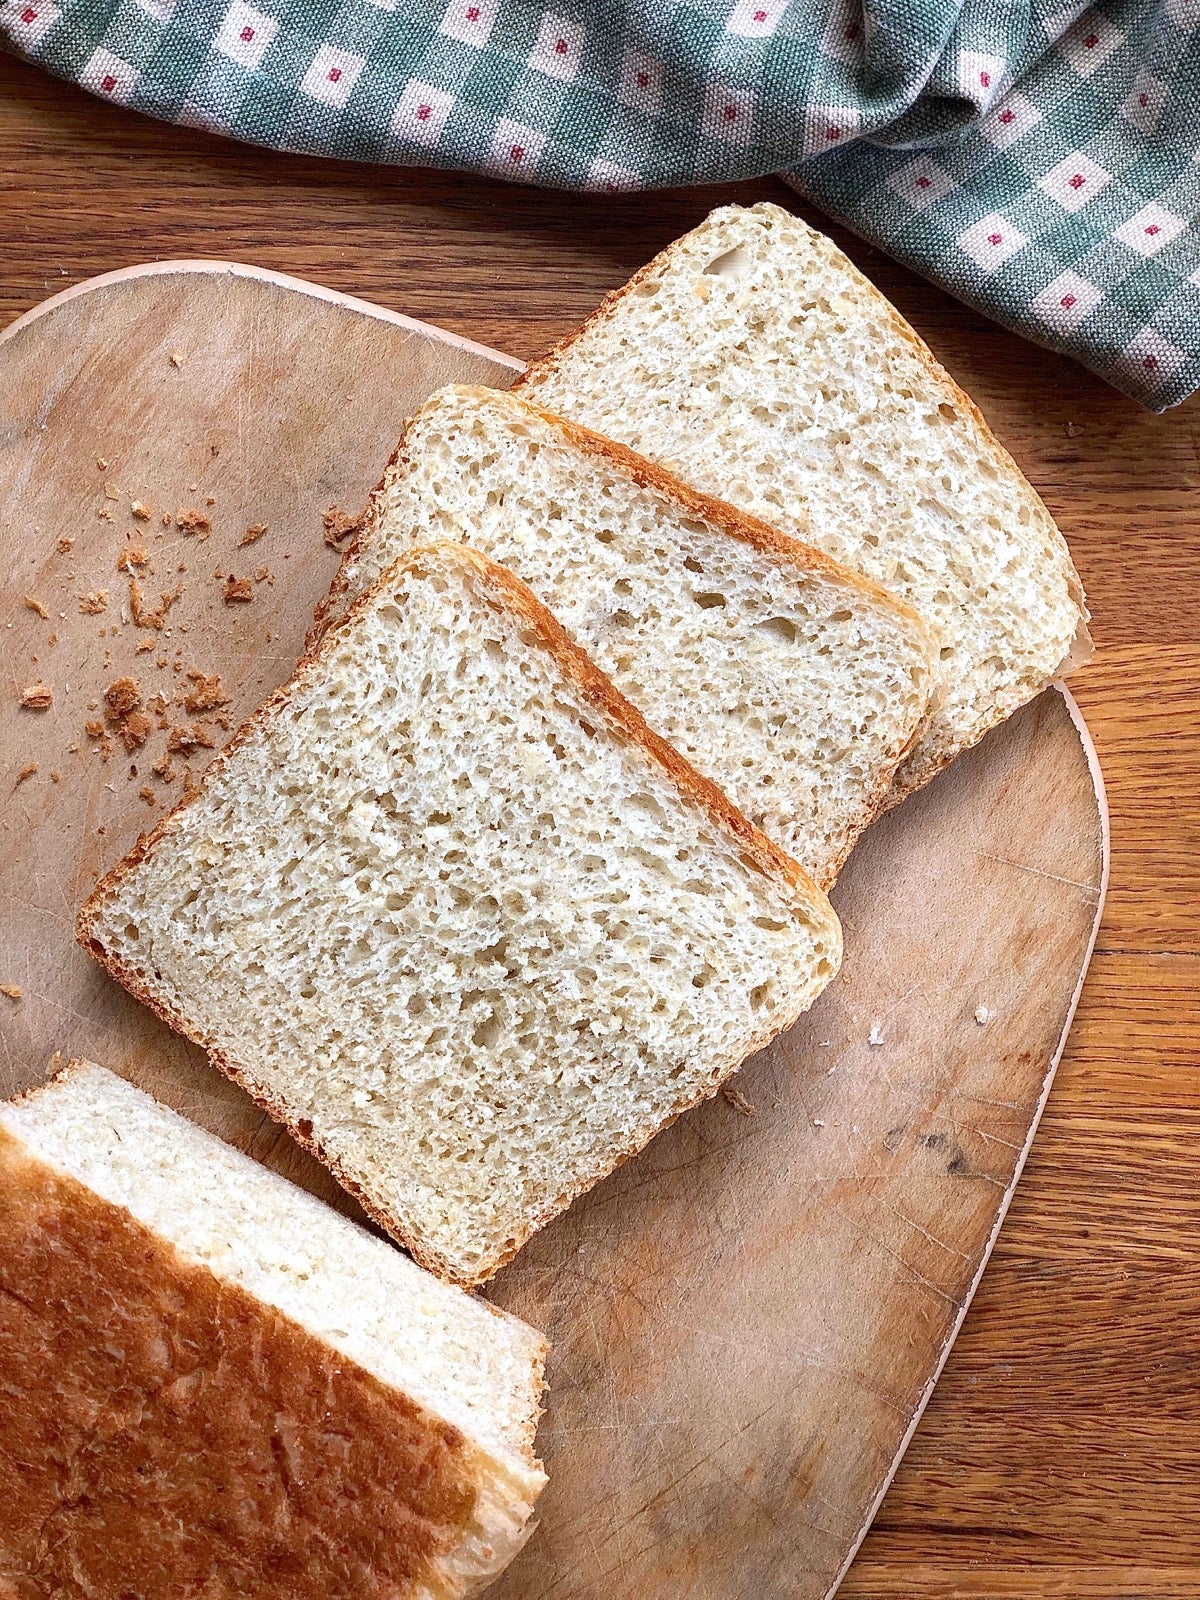
Looking for a 100% whole grain loaf? Substitute the same weight of whole wheat flour (our favorite is golden whole wheat) for the bread flour called for, no other changes necessary. If you’re measuring using cups instead of a scale, use 3 cups + 3 tablespoons whole wheat flour; this will account for the fact that whole wheat flour weighs less than bread flour.
You can leave your loaf’s lovely golden-brown top crust just as it is, of course. But you can also take it a step further with these enhancements, which are appropriate for both loaves (standard and bread machine) and rolls.
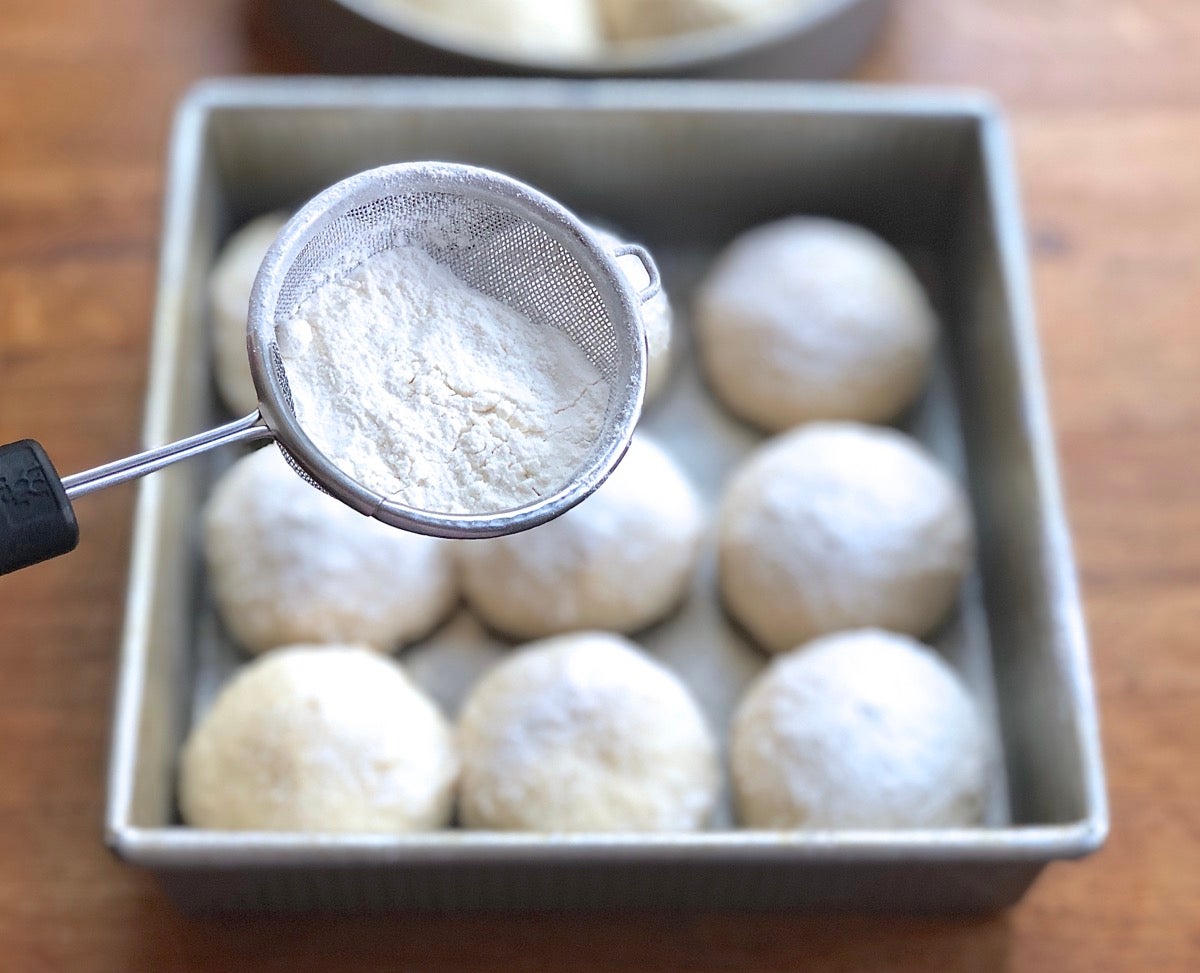
For a rustic look: Spray with water then sift a light coating of flour atop the crust.
For a touch of sweetness and spice: Sprinkle the crust with cinnamon-sugar before baking.
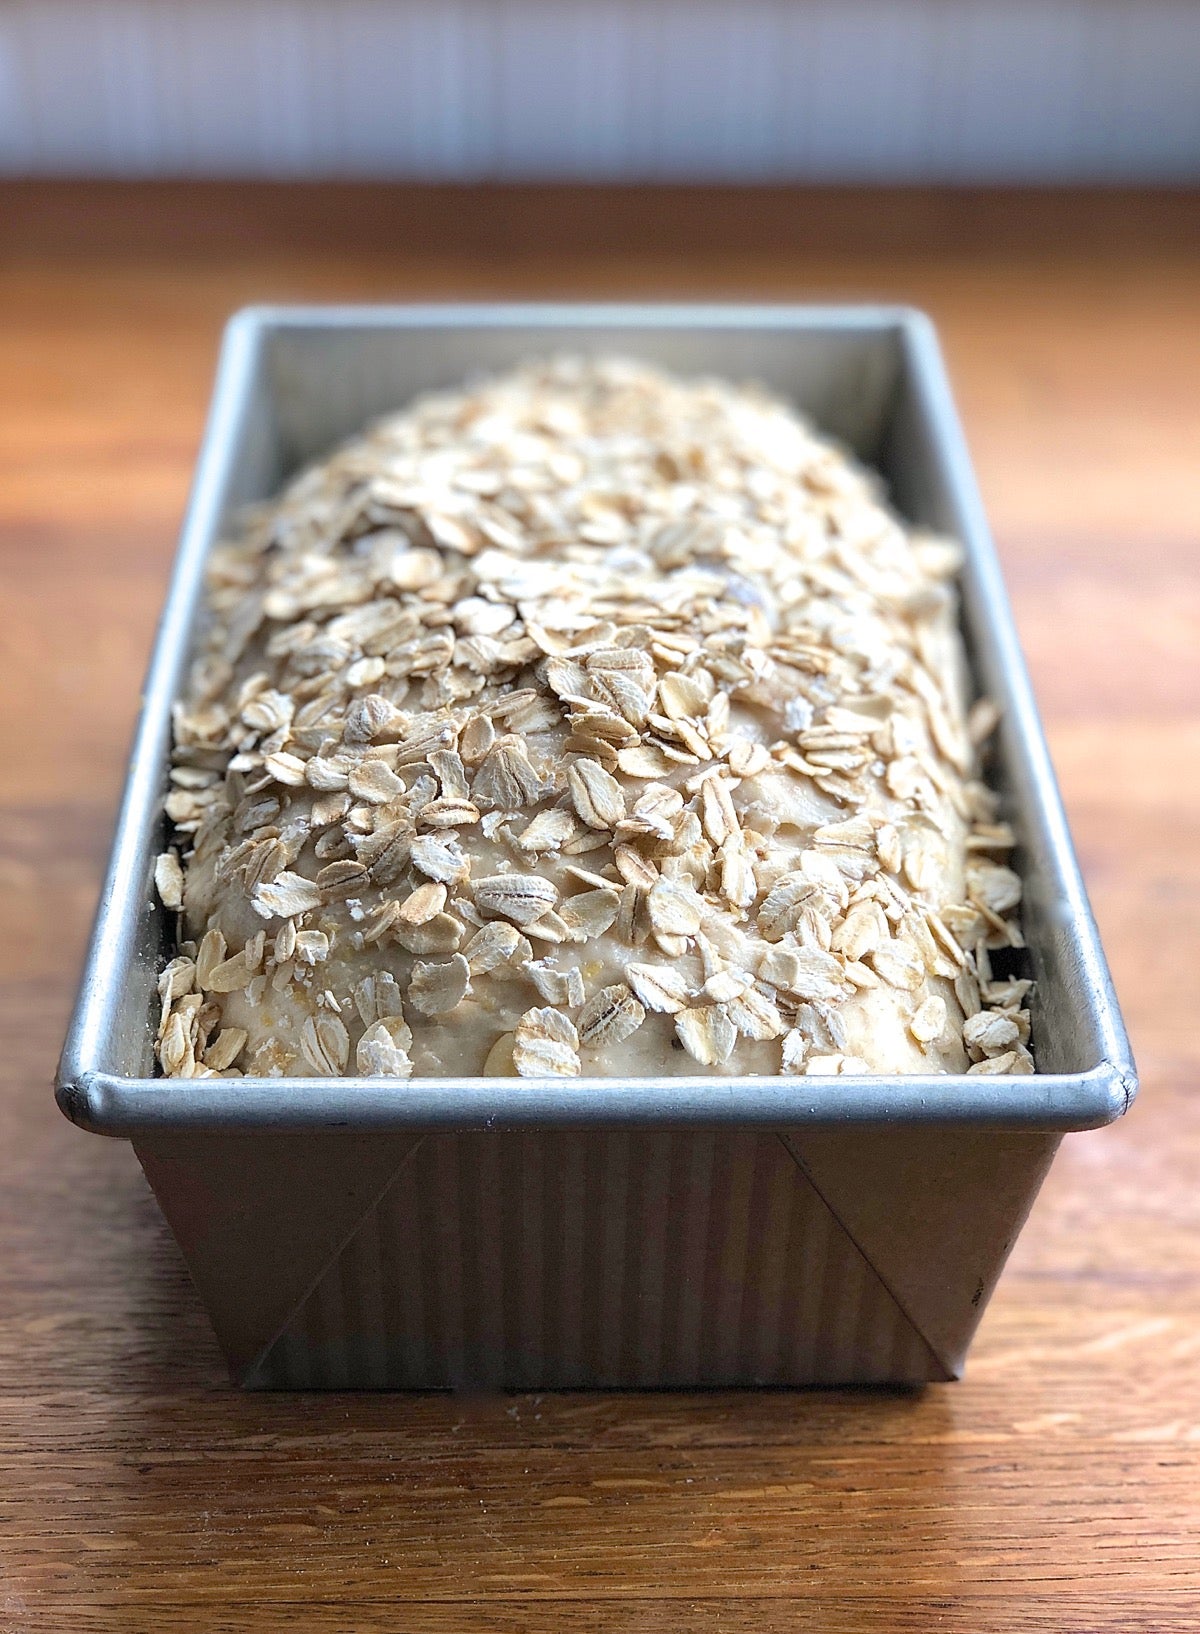
For enhanced texture, flavor, and appearance: Sprinkle rolled oats atop the crust before baking. First, beat an egg white with 1 tablespoon water. Next, brush the beaten white all over the top crust, then sprinkle with rolled oats.
Can you skip the egg white? Yes, but the oats won’t stick nearly as well. Plus, egg white gives the crust an attractive shiny finish.
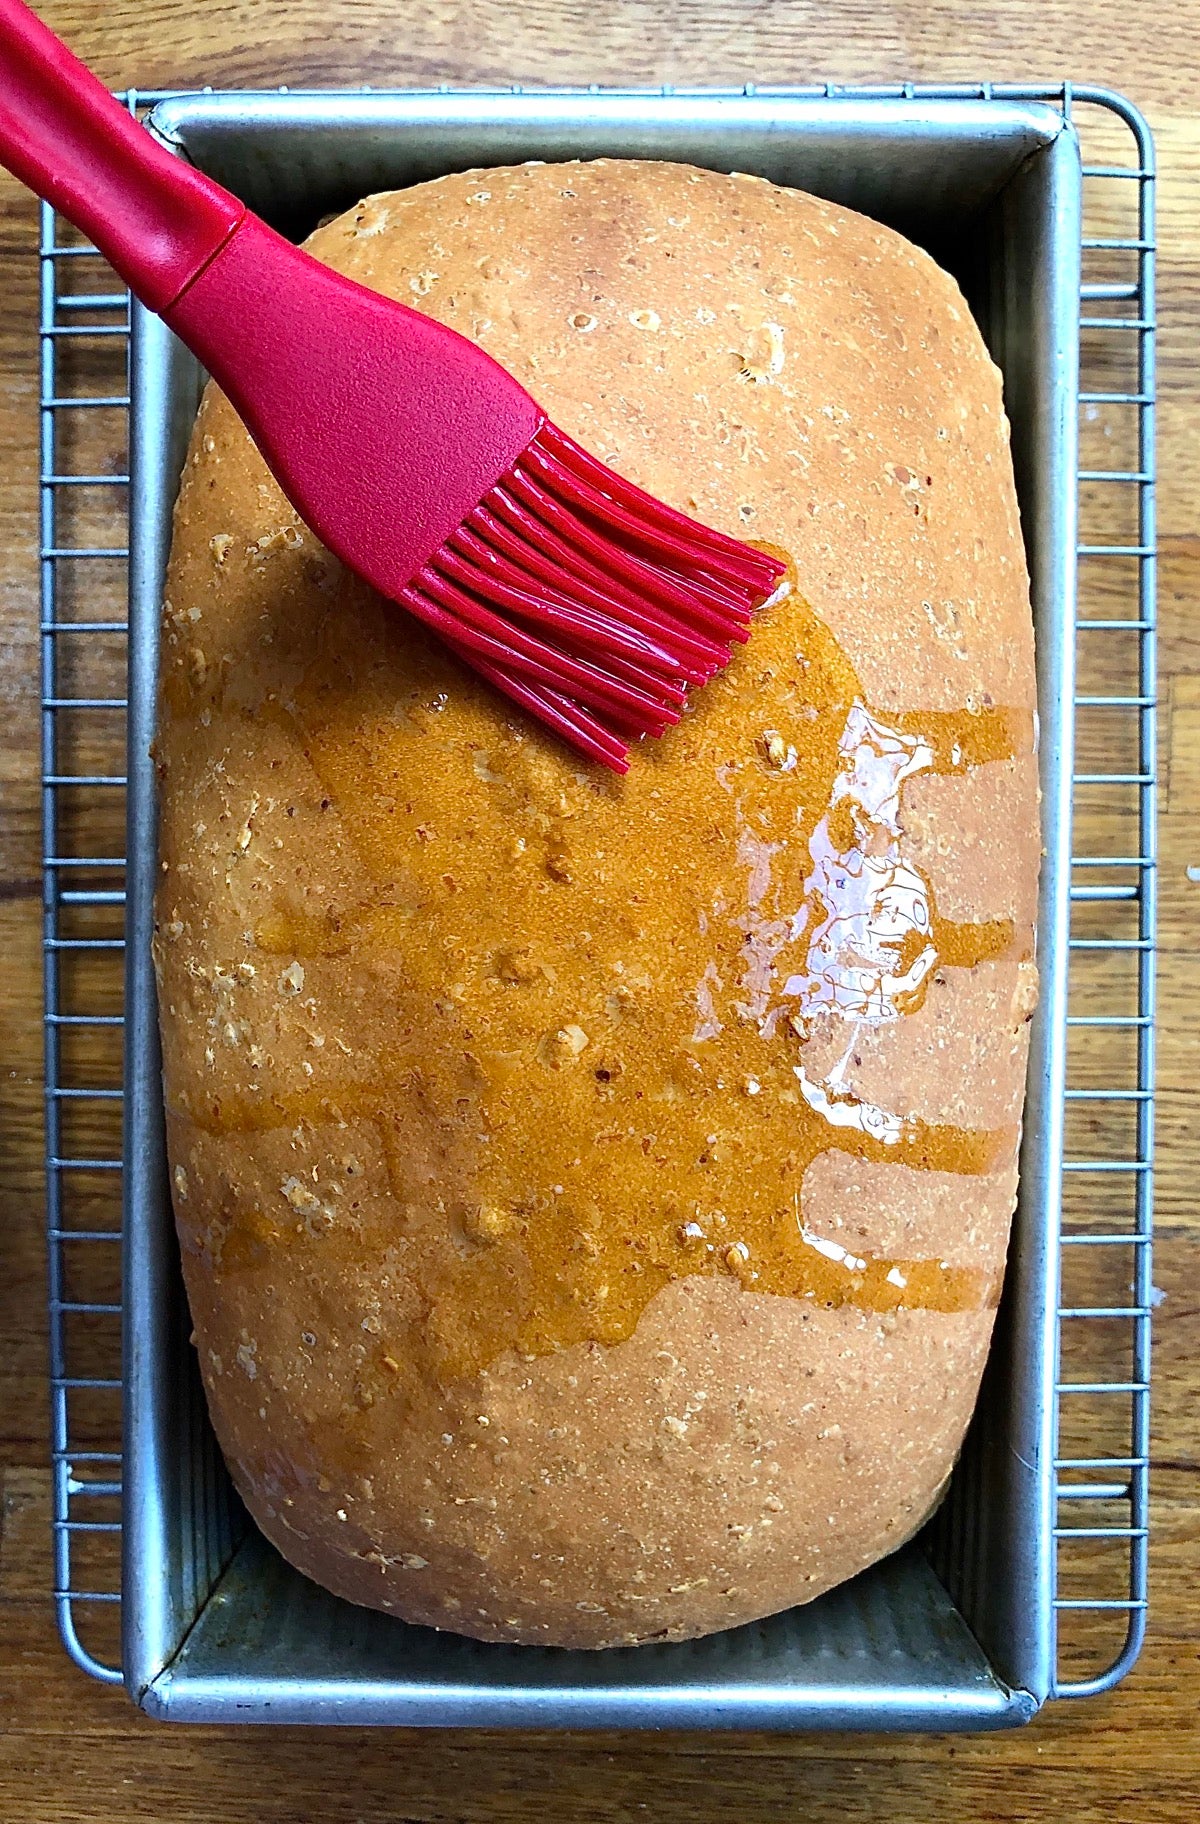
A simple trick for a plain, untopped loaf: When the bread is done take it out of the oven and brush the top with melted butter, either before or after you turn it out of the pan. This will both soften and flavor the crust.
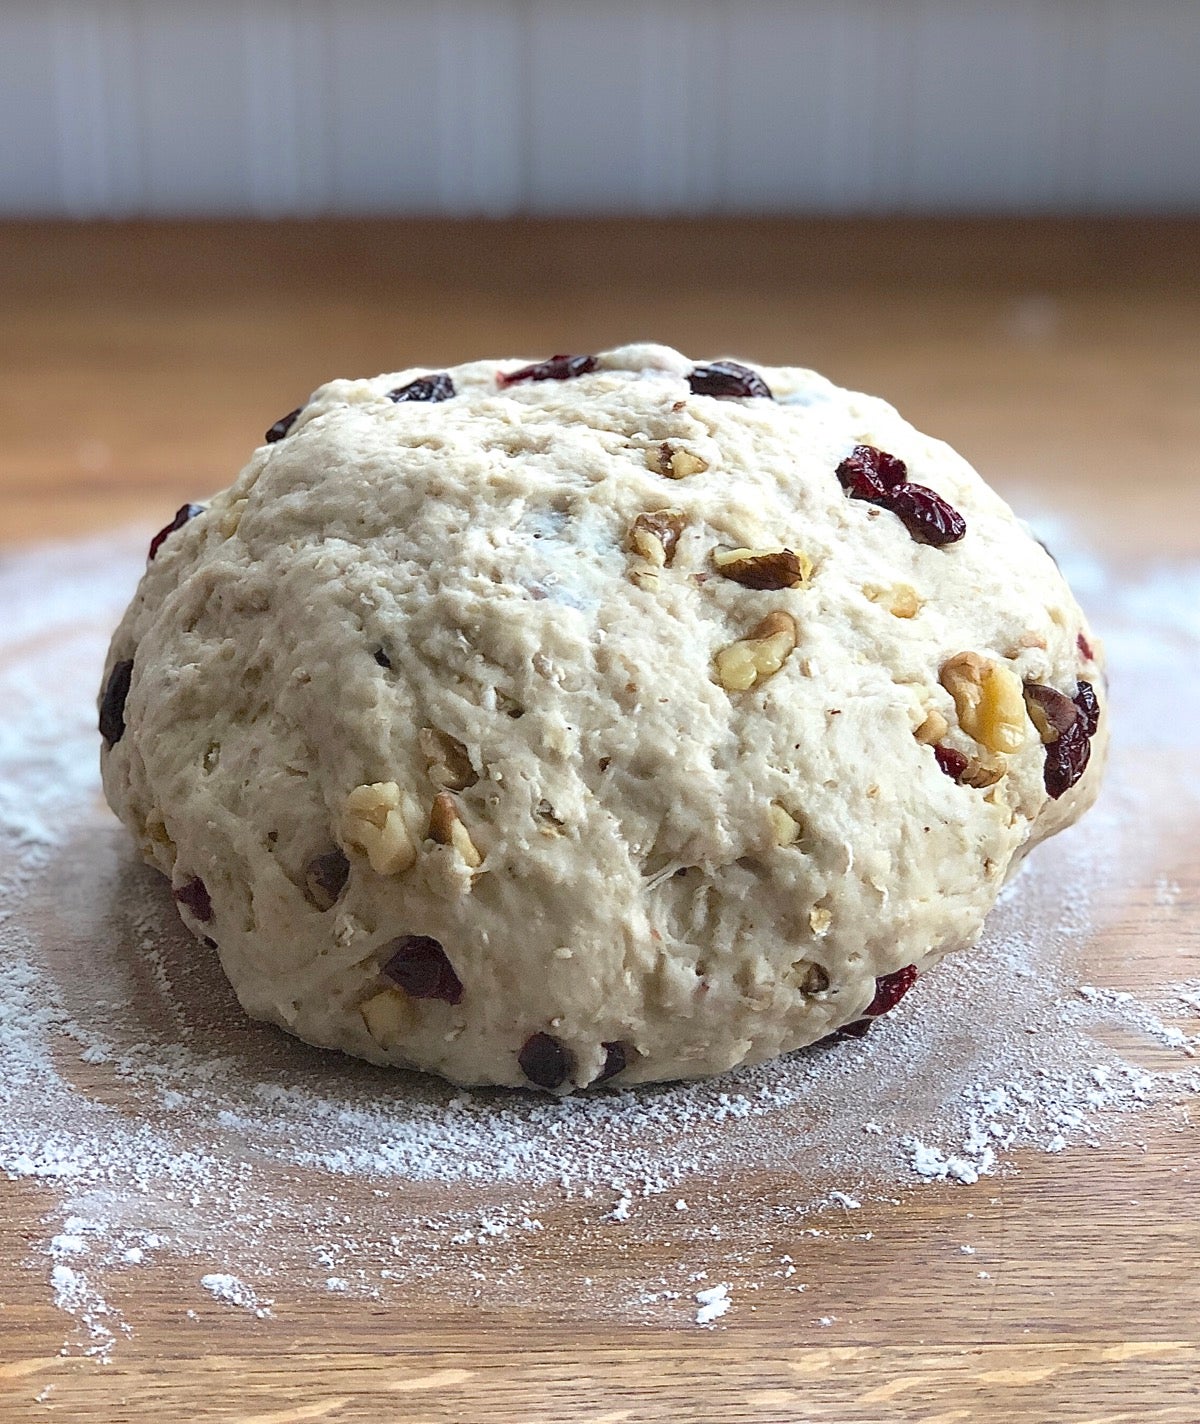
Once your dough has gone through its first rise, gently deflate it and knead in up to 1 cup raisins, currants, dried cranberries or blueberries, diced crystallized ginger, chopped dried apricots or dates, chopped nuts, or other add-ins. We don't recommend using fresh fruit: its juice can make the loaf soggy.
Why wait until the dough’s gone through its initial rise? If you knead dried fruit in right away (along with the other ingredients), sugar from the fruit can leach into the dough, offering the yeast an overdose of its favorite food and slowing it down. The human equivalent is eating too much turkey at Thanksgiving dinner and falling asleep … yeast is just as prone to “bad behavior” as we are!
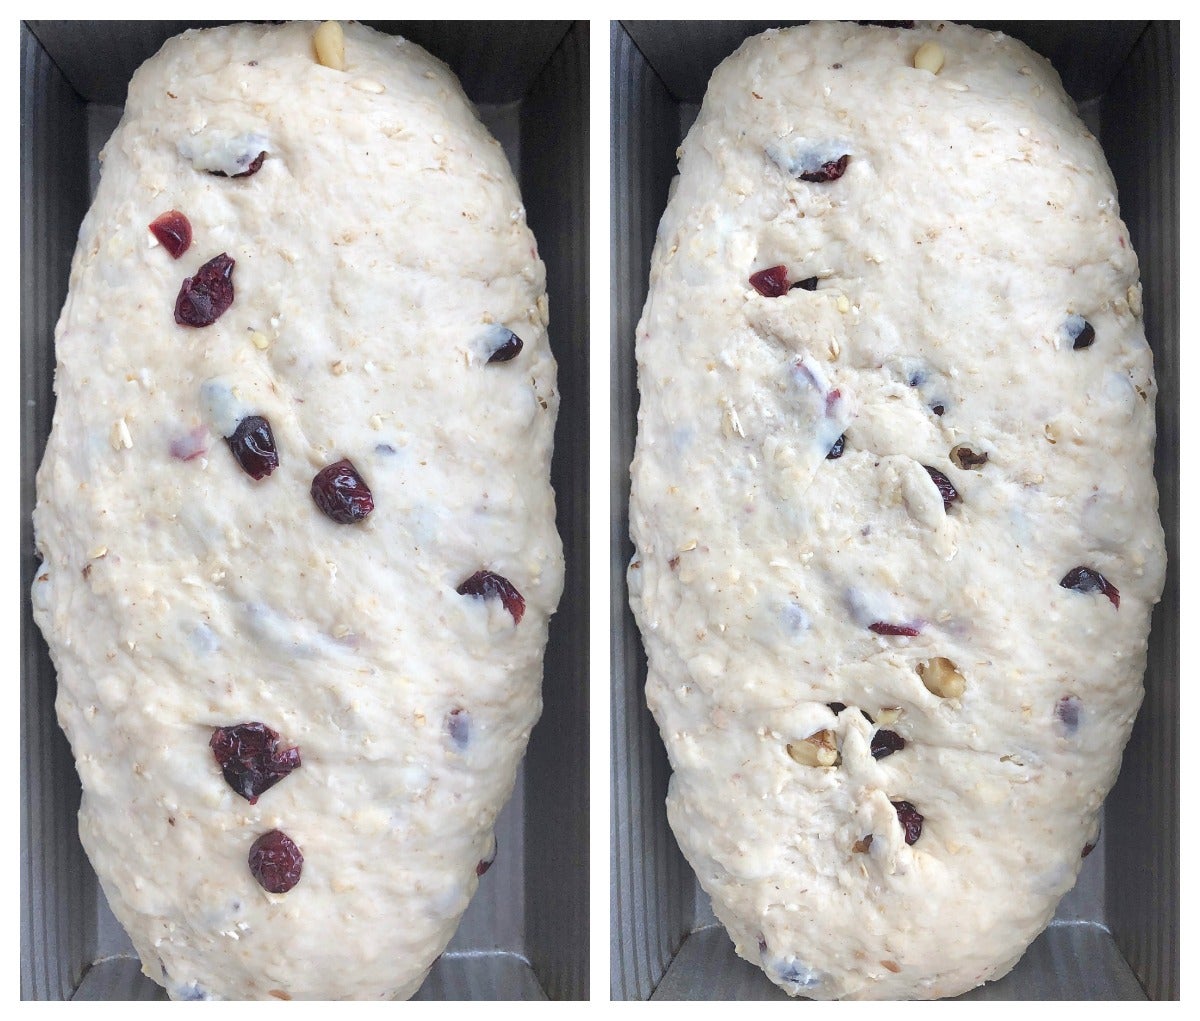
Once you’ve shaped the dough into a loaf or rolls, take the time to either remove any bits of fruit or nut poking through the dough’s surface or tuck them back inside. This will keep them from burning during baking, which results in a bitter flavor.
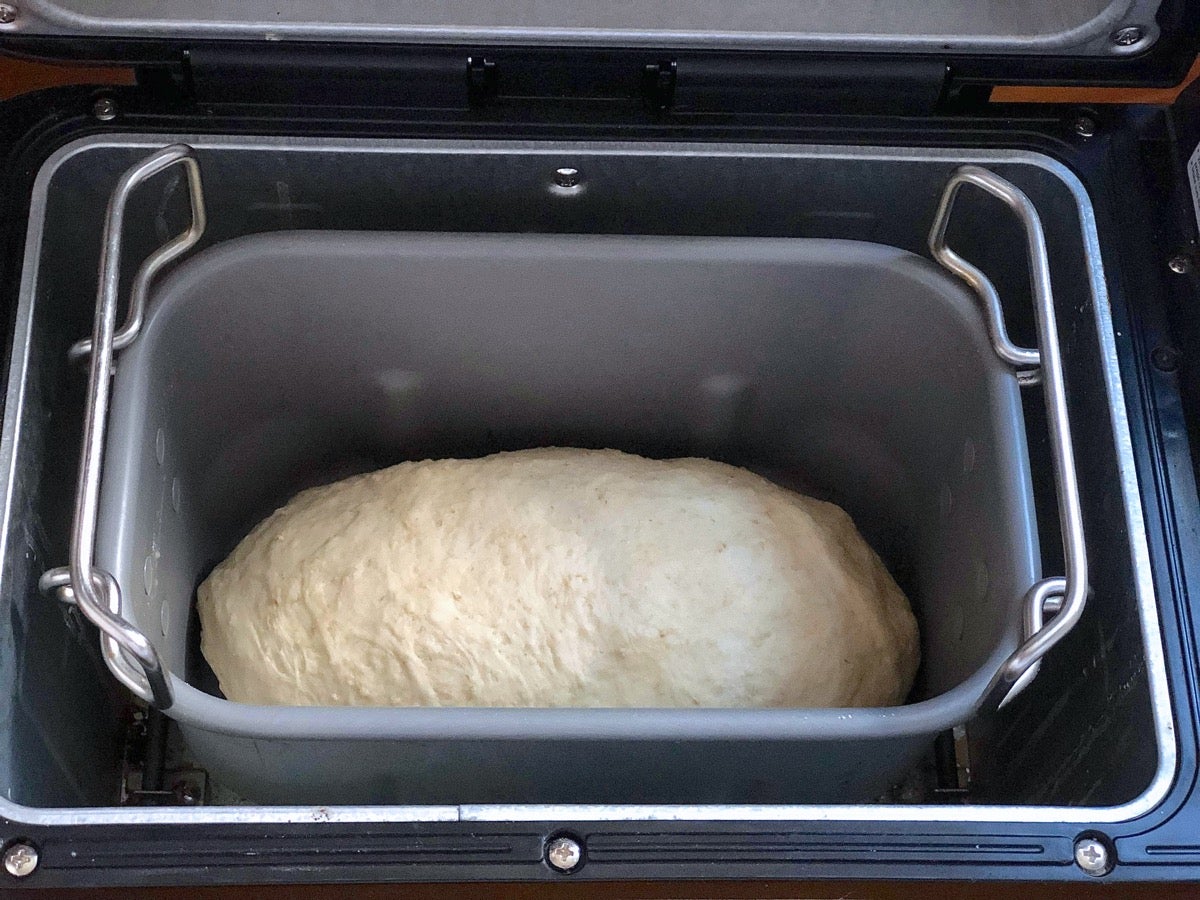
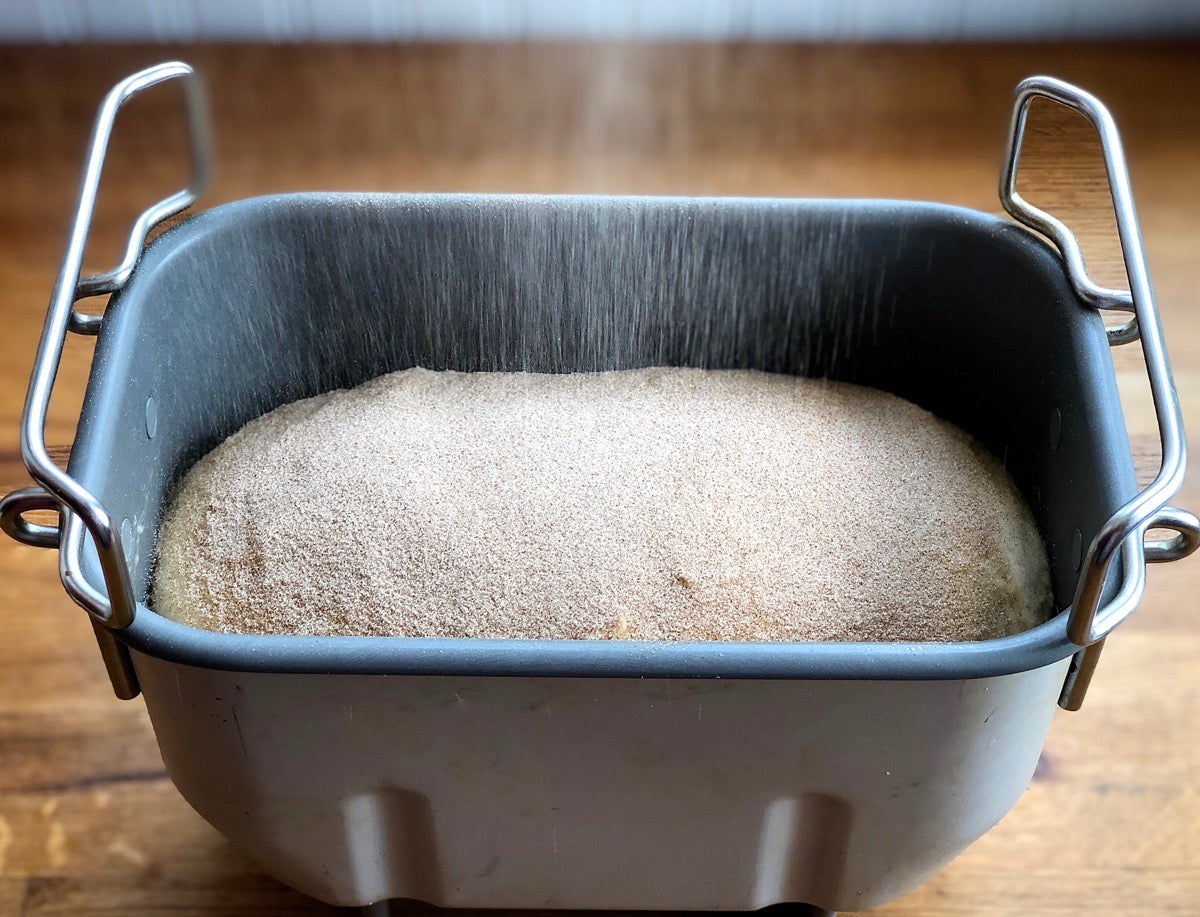
How does this recipe do in a bread machine? Very well, thank you — speaking for the Zojirushi, at least. You can use your machine to prep the dough, then take it out and bake it in your oven; or let it go start to finish right in the machine.
To use the machine to prepare your dough: Place all of the ingredients into the pan of your machine. Program the machine for manual or dough, and press Start. About 10 minutes before the end of the second kneading cycle, check the dough and adjust its consistency as necessary with additional flour or water; the finished dough should be soft and supple. If you'd like dried fruit or nuts in your loaf, add them about 3 minutes before the end of the final kneading cycle.
To make your bread start to finish in the machine: Program the machine for regular/basic bread (or your machine's equivalent). Follow the instructions above for checking and adjusting the dough's consistency; if you're including dried fruit or nuts, add them at the beep. Want to make the best loaf possible? Read Successful loaves from your bread machine: 5 tips for home bakers.
It’s simple to turn this classic domed loaf into one with a flat top and right-angle corners, the ideal shape for any size toaster and perfectly packable sandwiches.
Deflate the dough after its first rise, and shape it into a 9" log. Place the log in a 9” pain de mie pan, cover it, and let it rise until the apex of its crown is almost even with the lip of the pan (the edges won’t be as high).
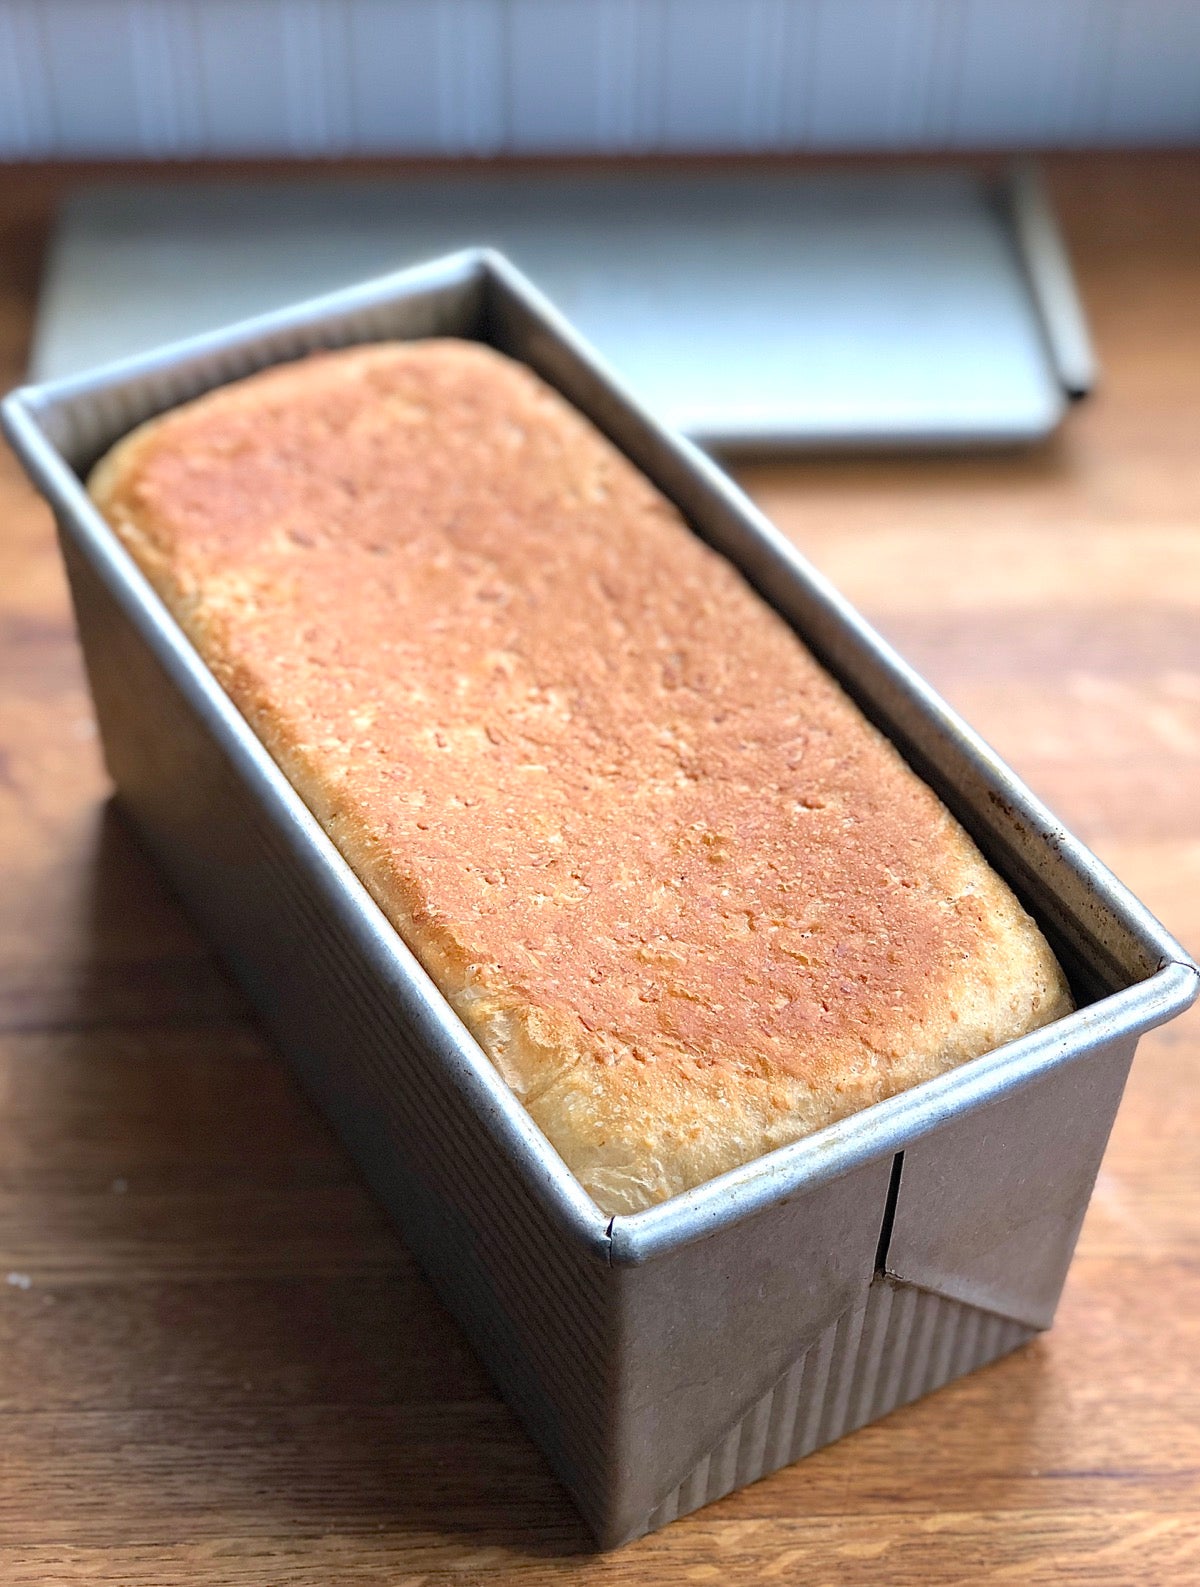
Add the lid and bake for 25 minutes in a preheated 350°F oven. Remove the lid and bake for an additional 5 to 10 minutes, until the bread is golden brown and a digital thermometer reads 190°F when inserted into the bread’s center. Remove the bread from the oven, and turn it out of the pan onto a rack to cool.
How about oatmeal dinner rolls or burger buns? Easy and delicious!
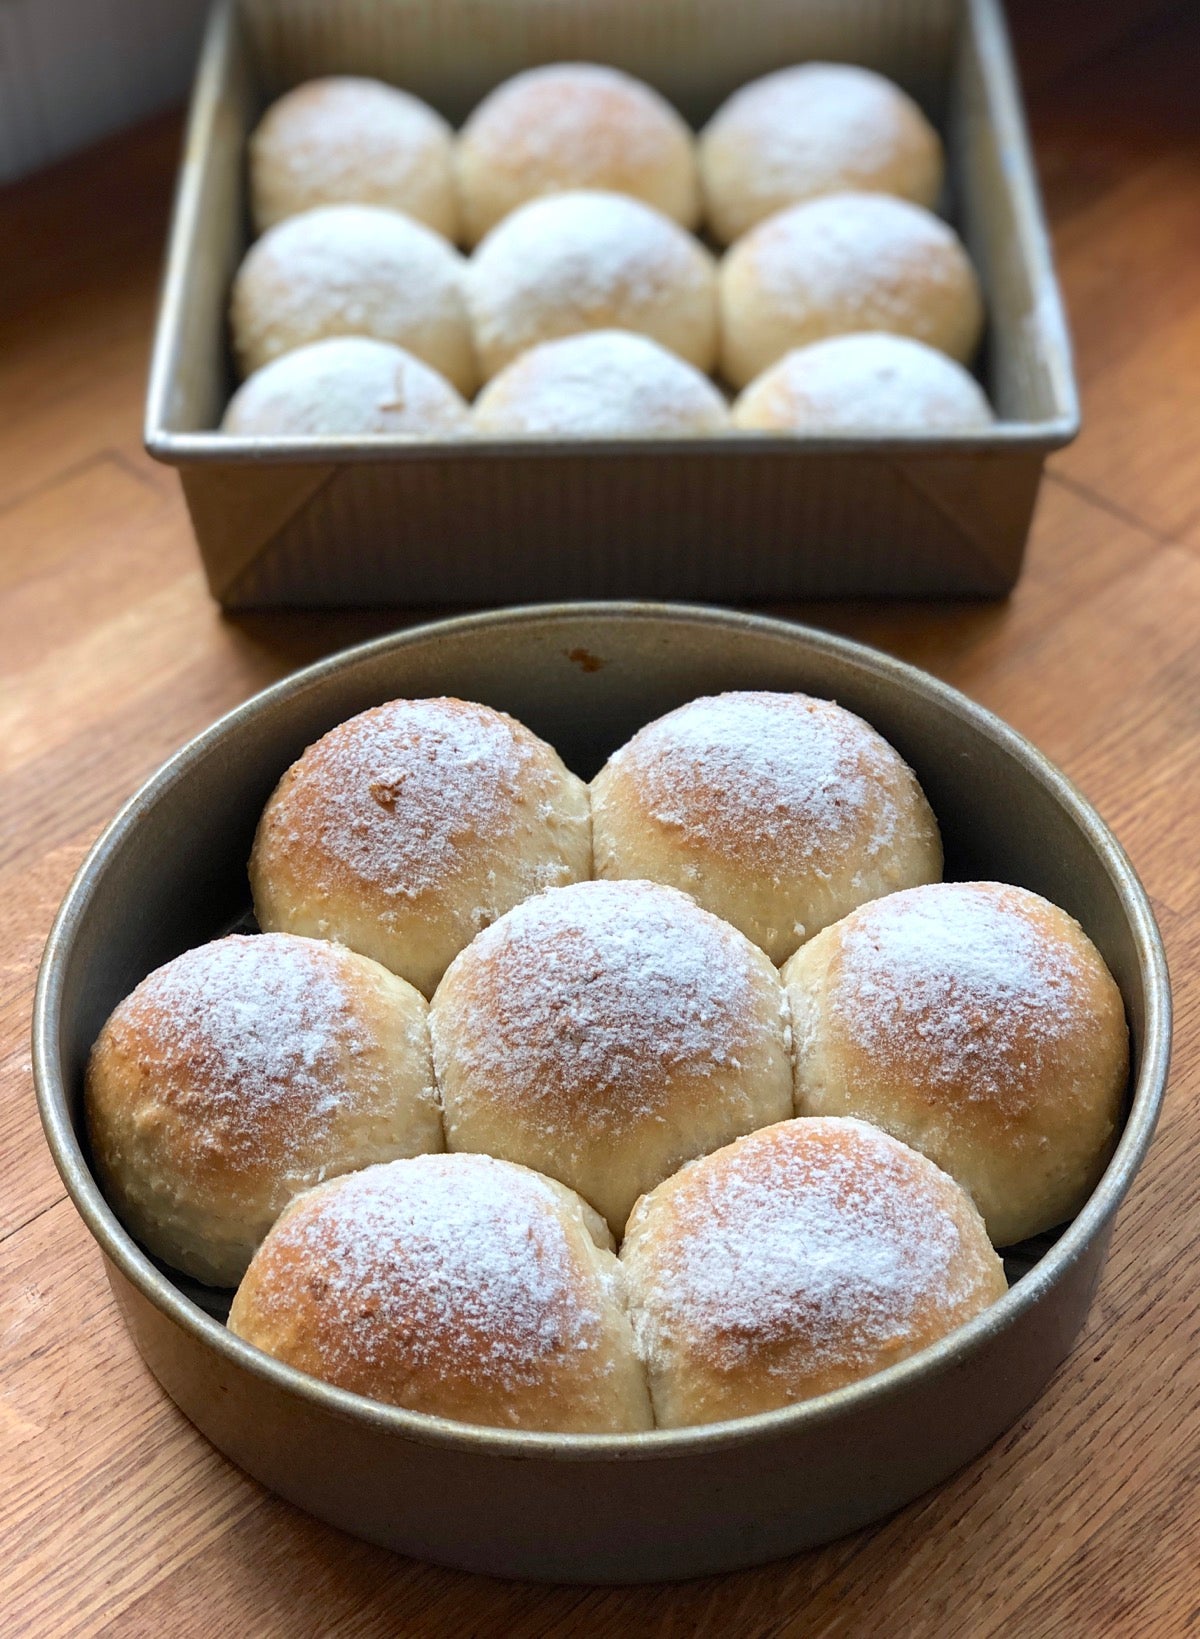
To make dinner rolls: Divide the dough into 16 to 24 pieces; obviously, the fewer rolls, the larger they’ll be. For reference, if you choose to make 16, each baked roll will be about 2 1/2" in diameter.
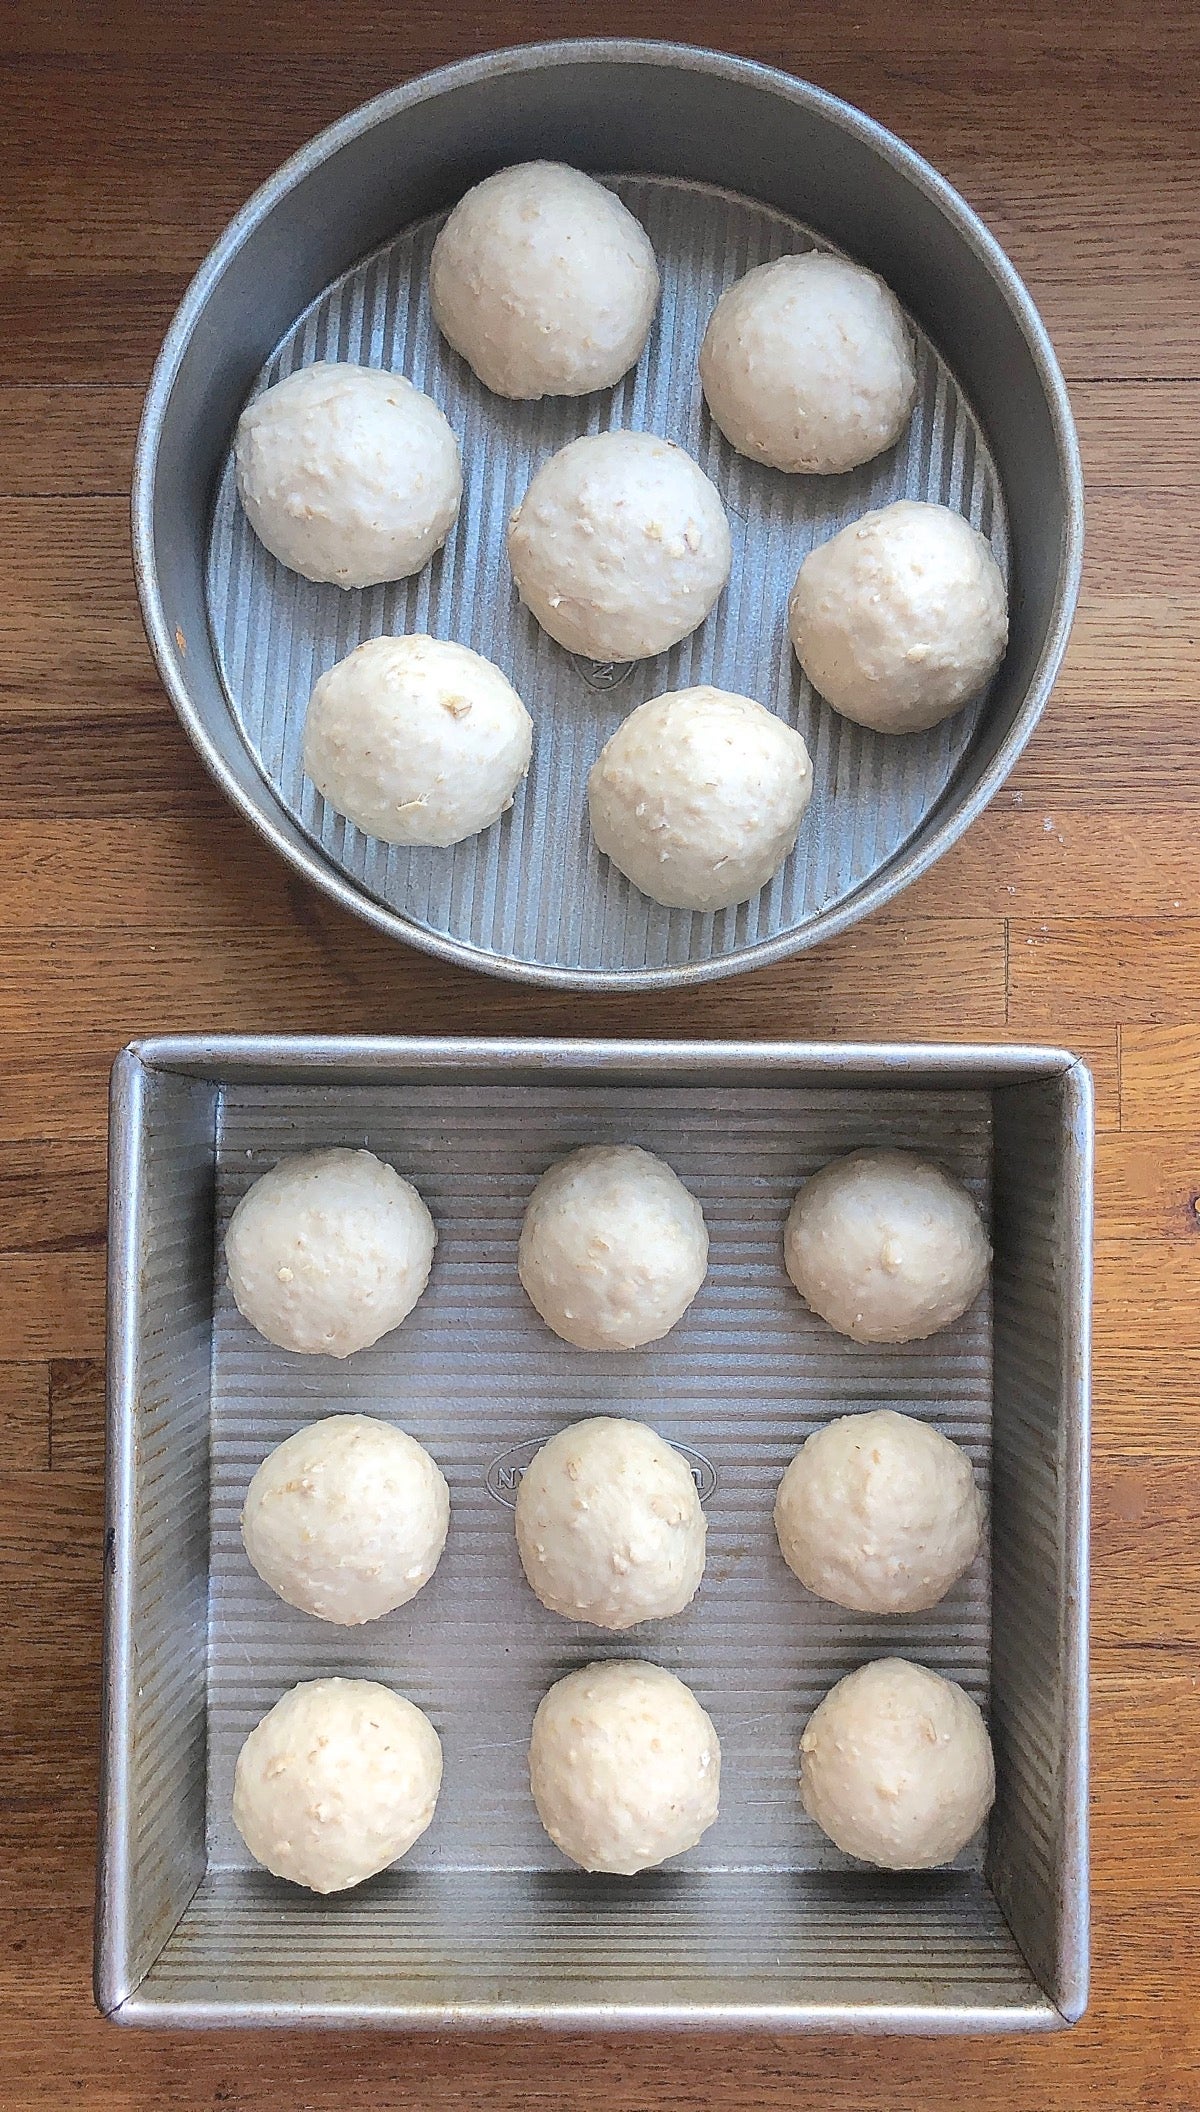
Place the rolls in the pan(s) of your choice: two 8” or 9” round cake pans, or a 9” x 13” pan are all good choices. (Check out this article, Shaping perfect dinner rolls, for an interesting tip regarding pan shape.)
Cover the rolls and let them rise until they’re quite puffy. Uncover and bake in a preheated 350°F oven until the rolls test done: golden brown, set to the touch, and about 190°F at the center on your digital thermometer. This should take anywhere from 18 to 23 minutes or so, depending on the size of the rolls and what pan(s) you’ve used.
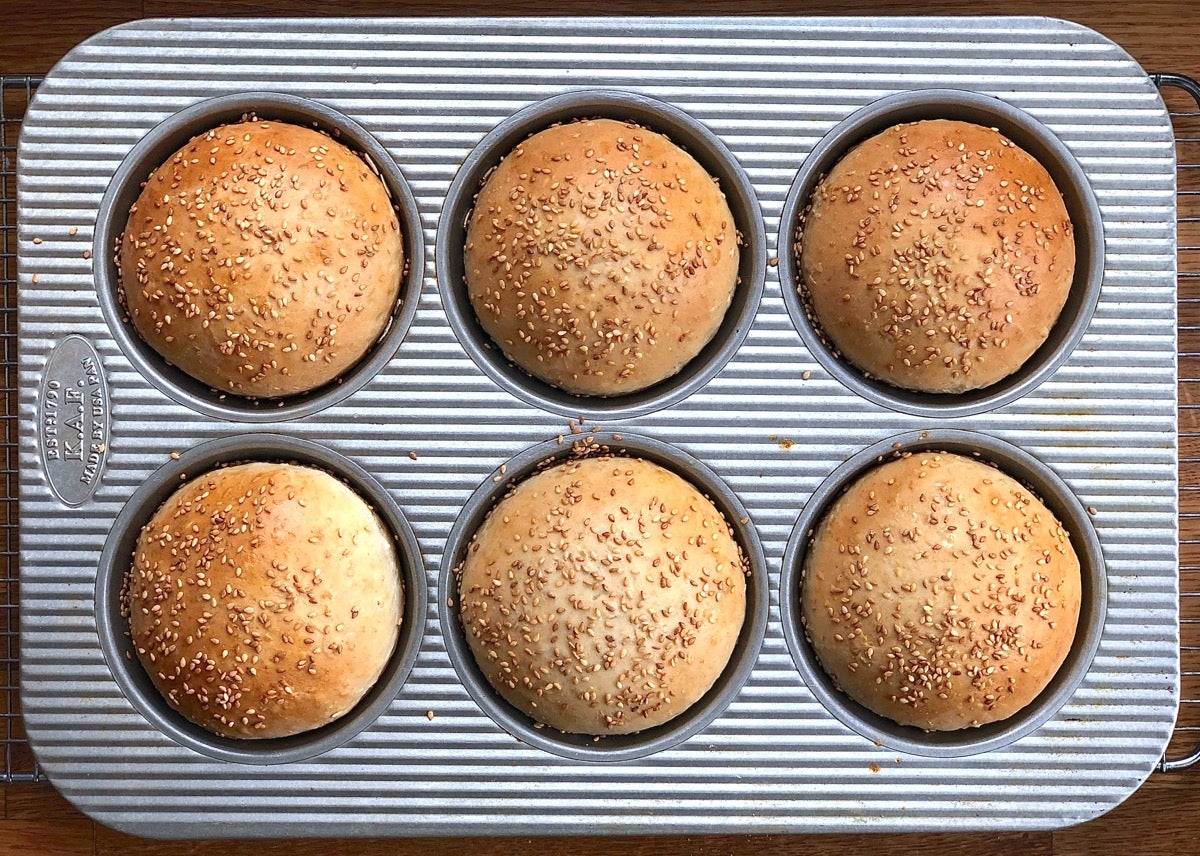
To make burger buns: Divide the dough into six to eight pieces. Round the pieces into balls, and space them on a parchment-lined or lightly greased baking sheet, leaving about 3” between them. Note: If you’re making six buns and you have a hamburger bun pan — use it!
Flatten the buns a bit, applying gentle but firm pressure with the palm of your hand. Cover and let rise until nicely puffy. Uncover the buns and bake them in a preheated 350°F oven for 15 to 20 minutes or so, until the buns are golden brown. Remove them from the oven and transfer them to a rack to cool.
Is it any wonder Back-of-the-Bag Oatmeal Bread is one venerable recipe our readers just wouldn't let disappear? Try it yourself to discover why this bread has been earning customer kudos for years.